
Guess who just backpacked all 20 miles to the highly coveted Havasupai Falls and back without ever having done the lottery for permits? Me. (EDIT: I’ve done this twice now, first in Feb 2020 using this hack and second time in Nov 2024 with a friend when she got permits from the lottery system.)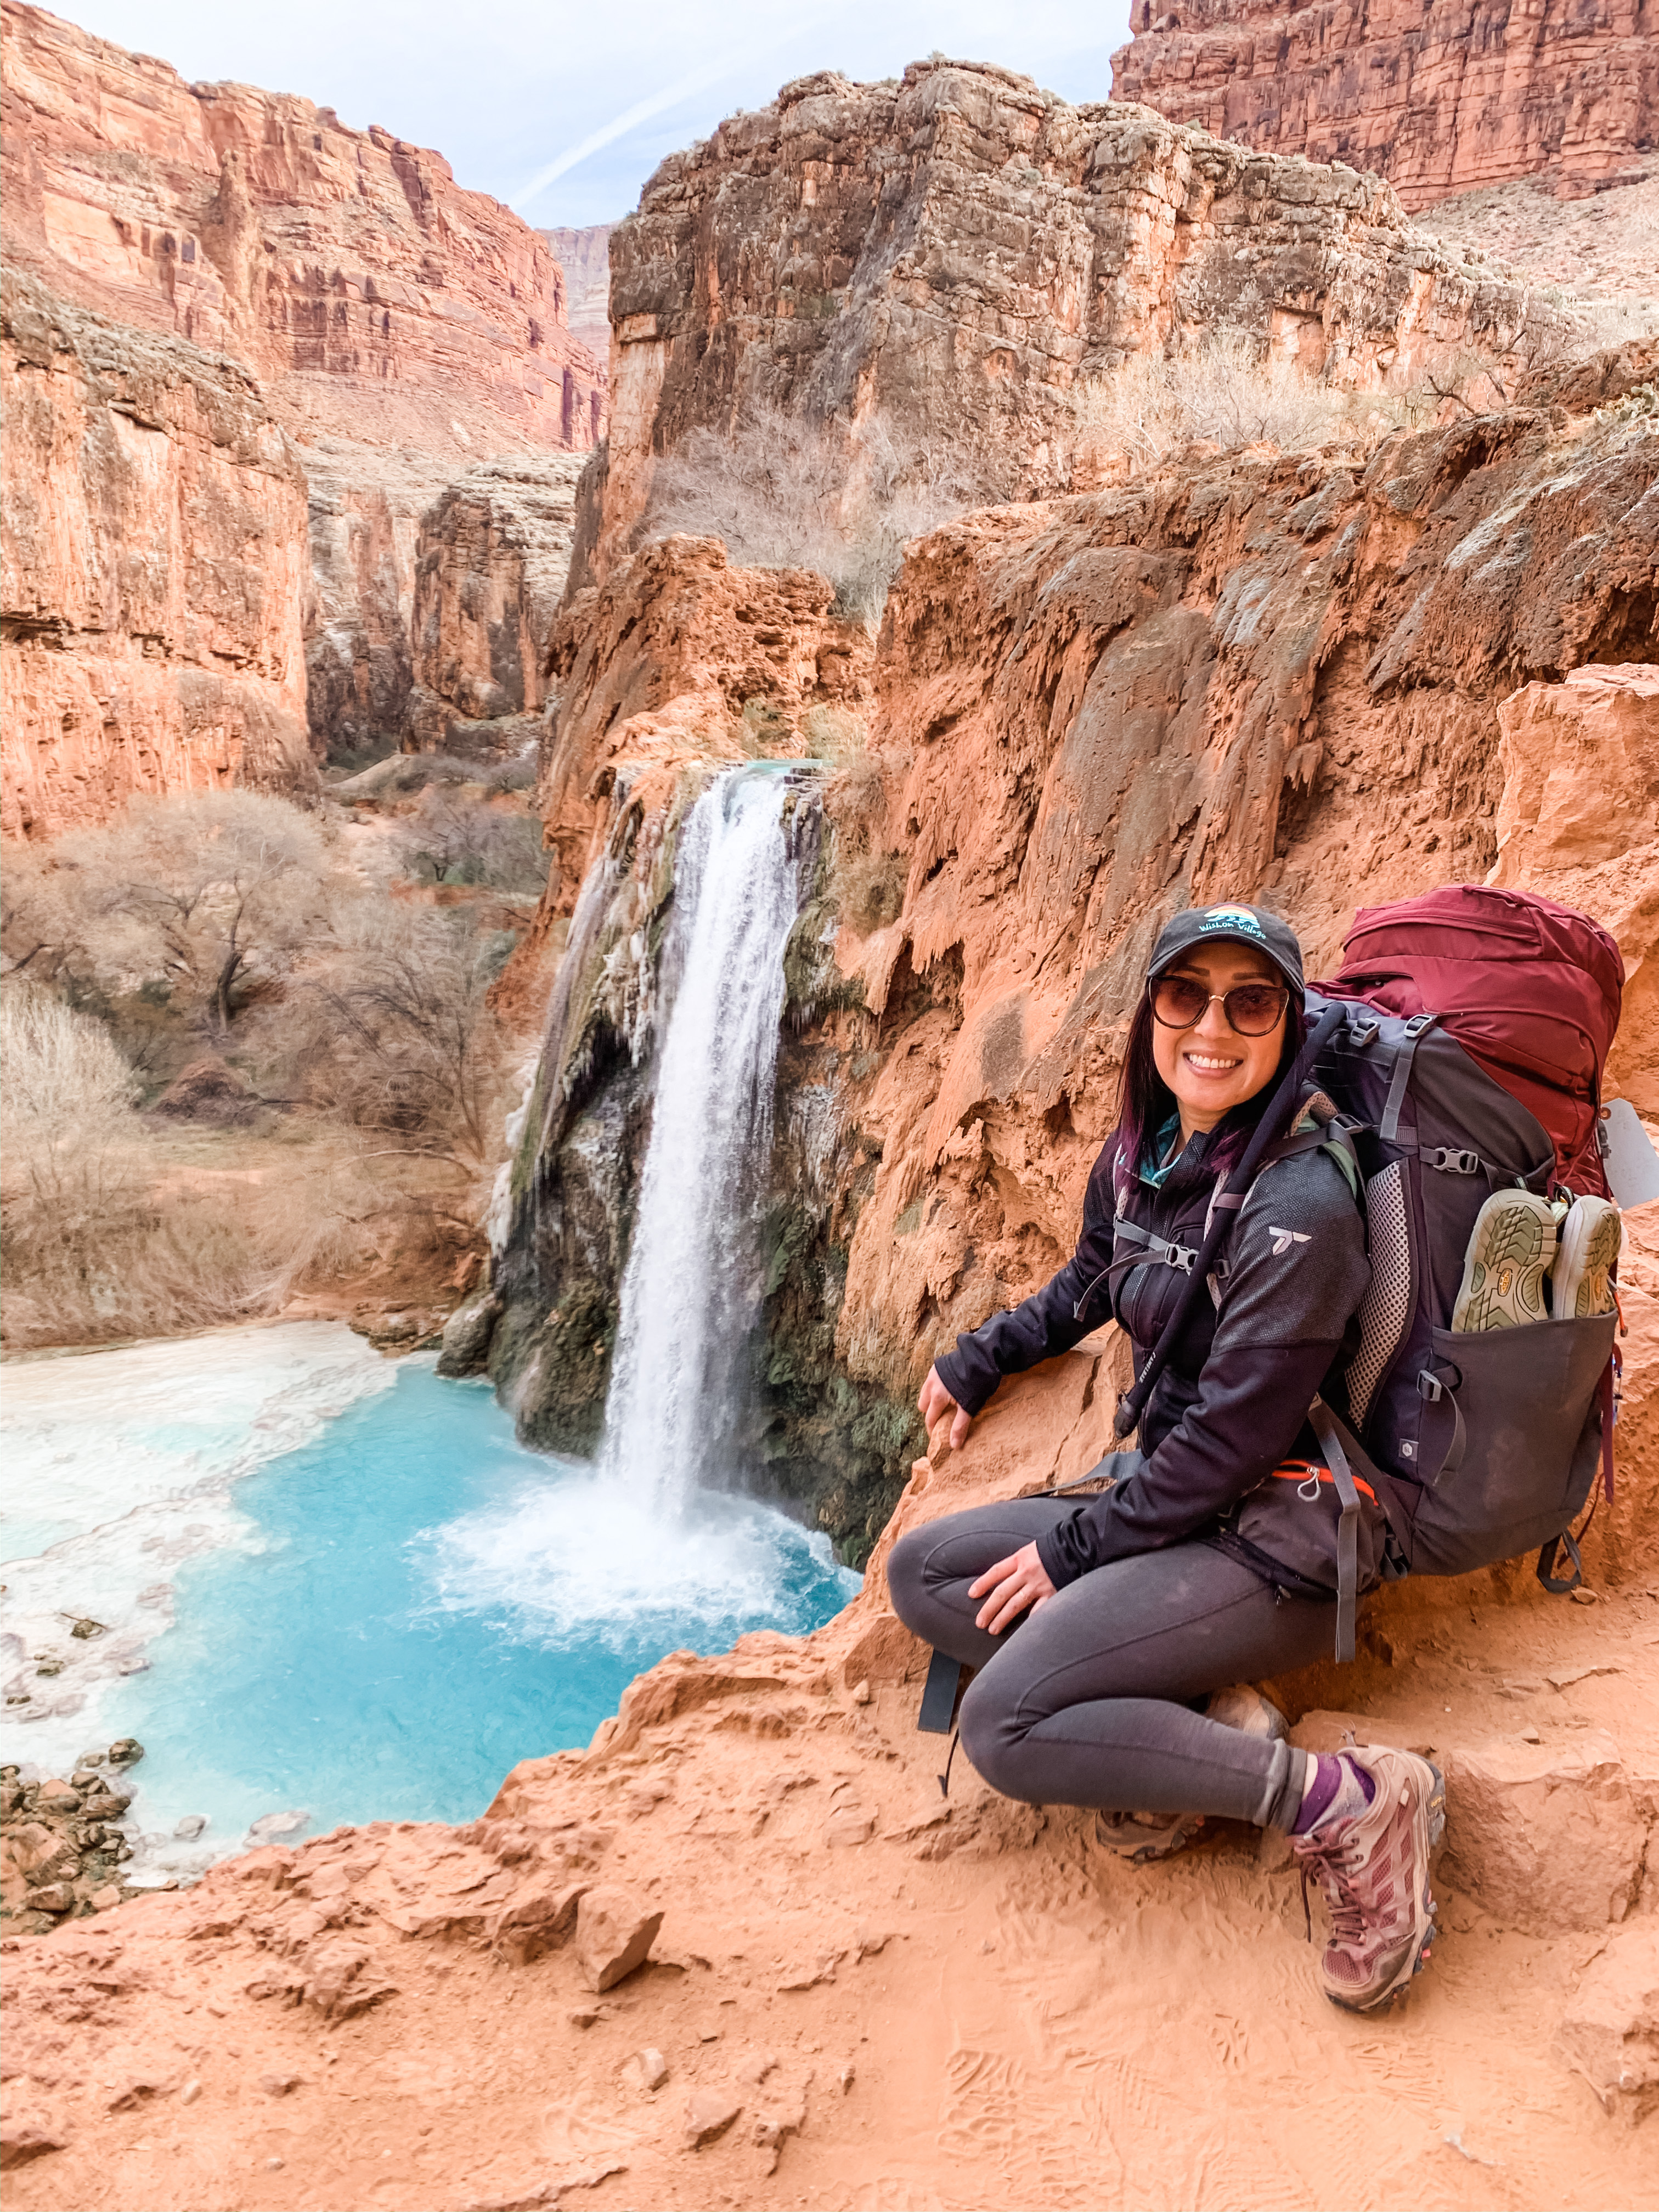
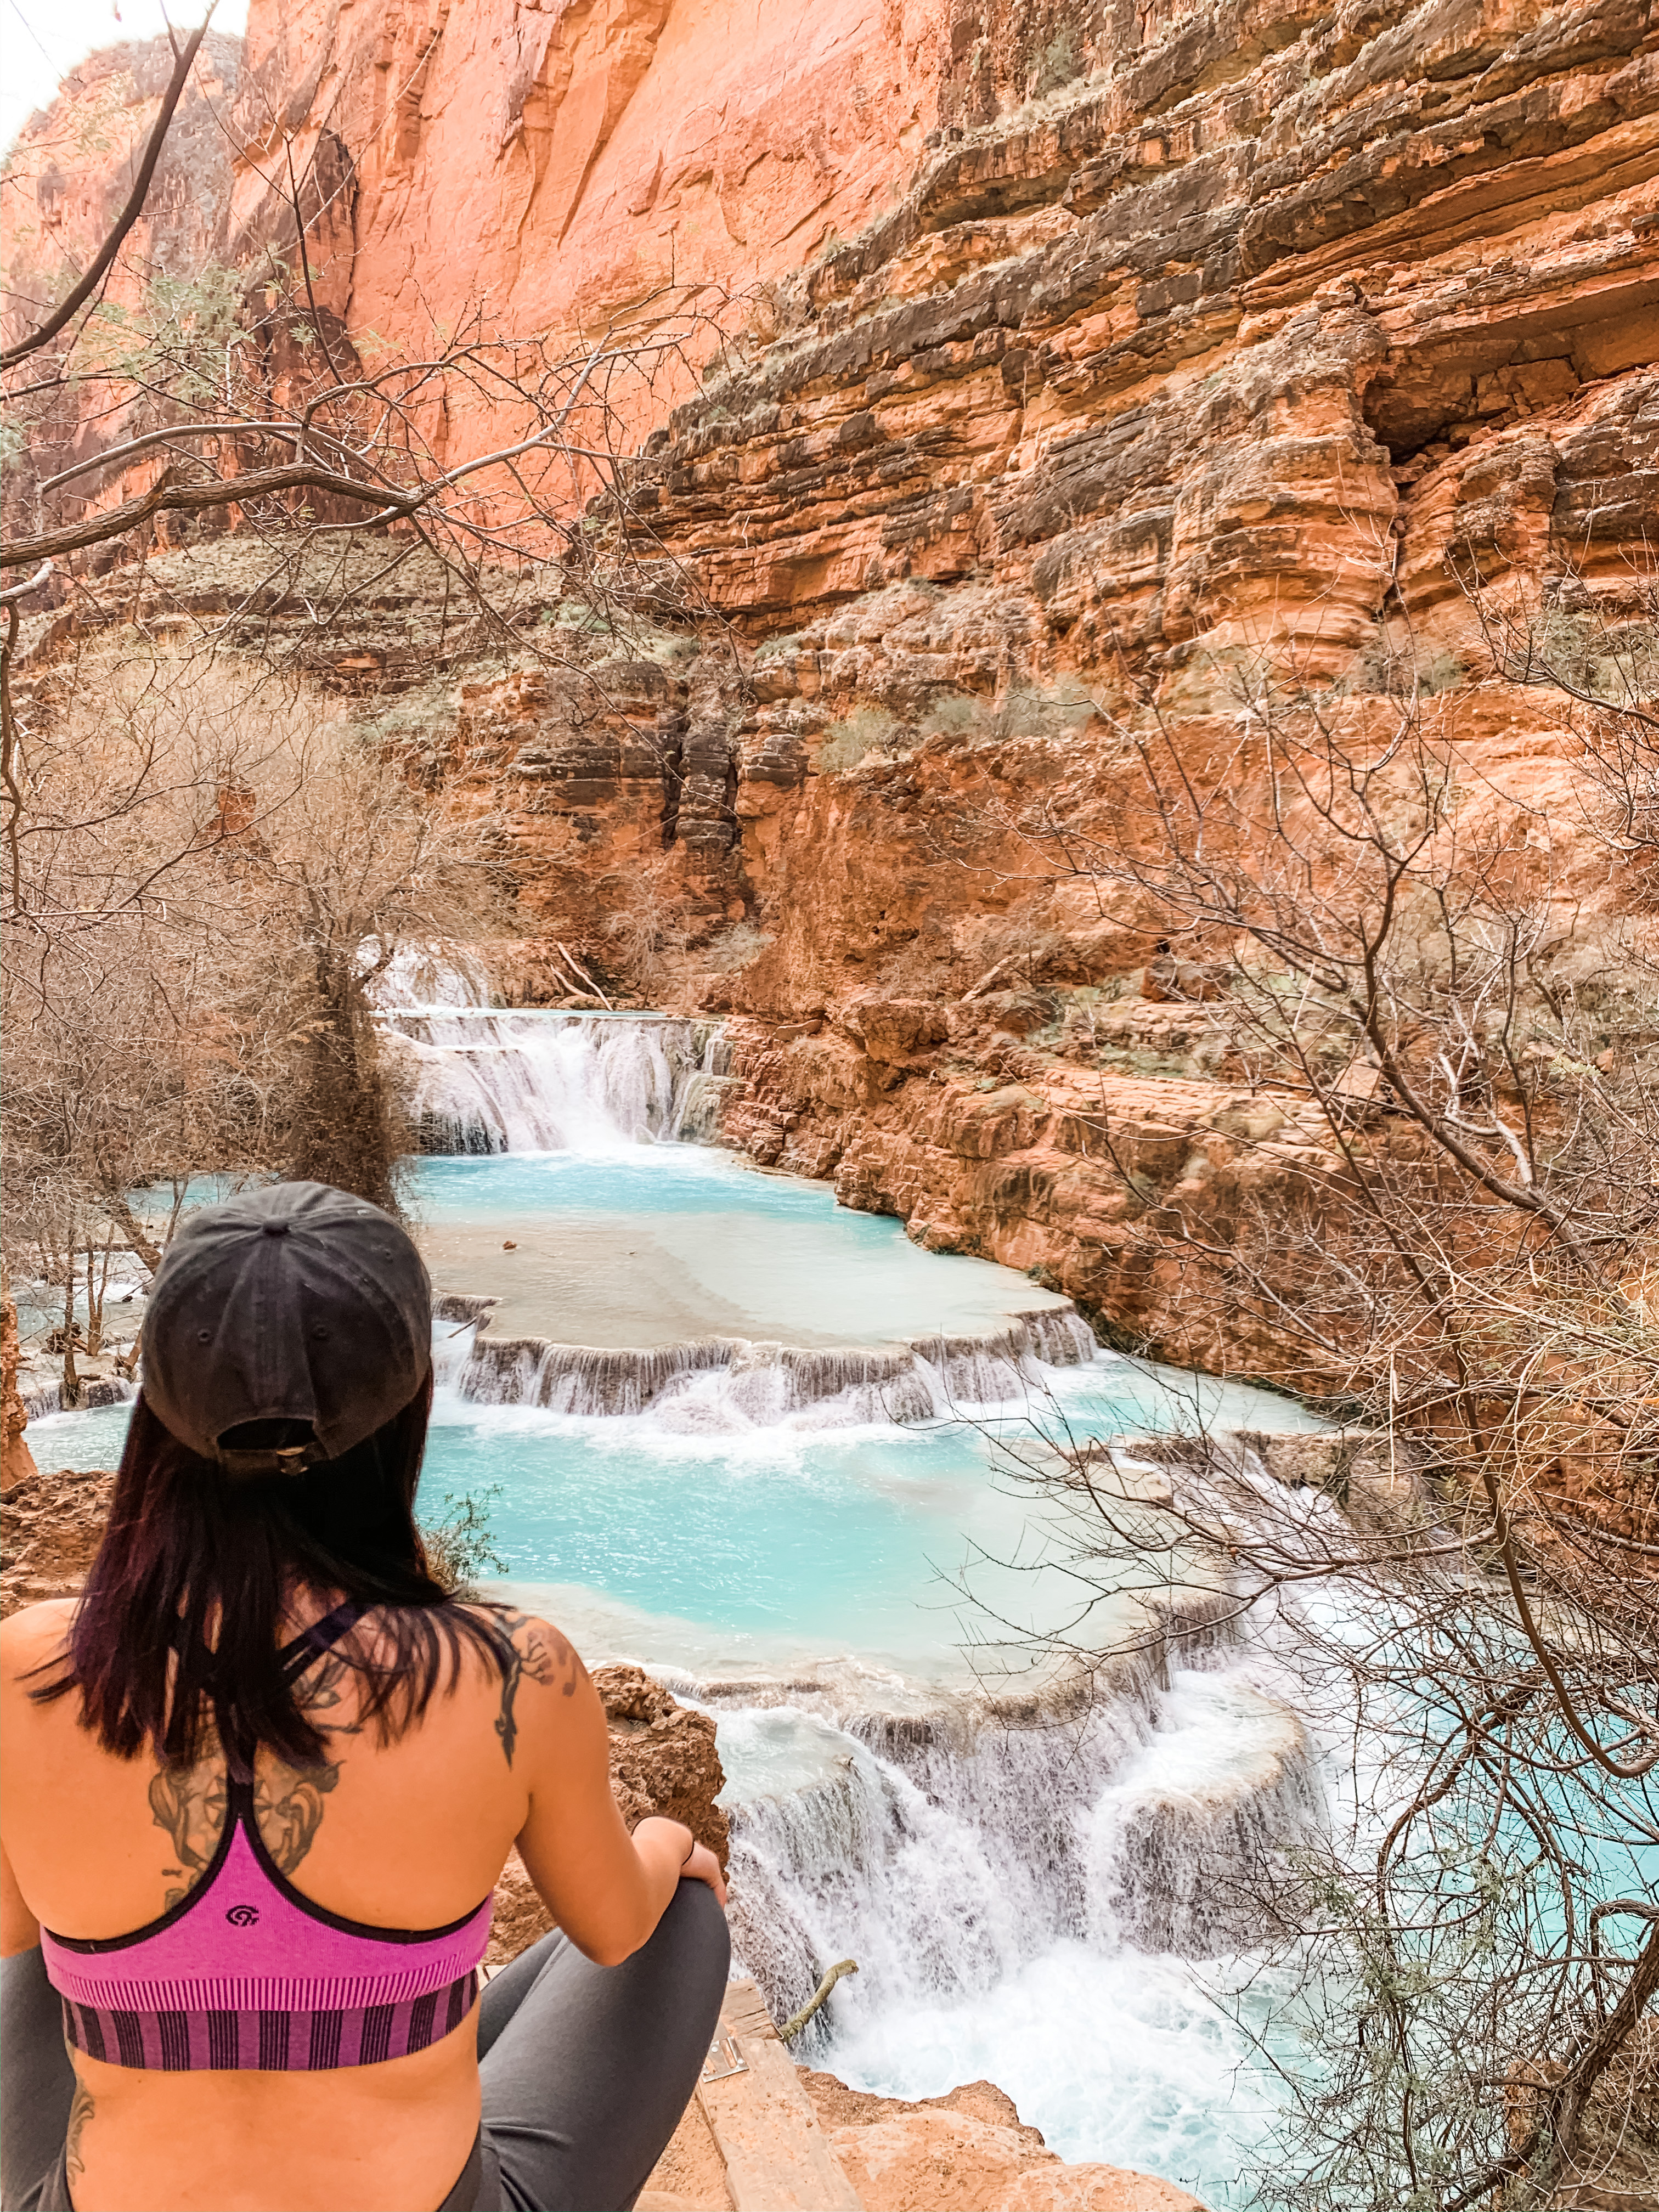
(At the perfect vantage point of Havasupai Falls on the trail in)
Nope, I did not hike it on someone else’s coattails. No, I did not have to murder anyone for these permits.
As a hiker/backpacker, of course I had heard of Havasupai Falls numerous times. But immediately following the name of this fall follows: 1) you can only obtain the permits by lottery on Feb 1st and 2) they’re incredibly hard to obtain. The permits go fast. I was defeated.
However, last year, I began getting curious about the permit process once again. Once again, I researched it and it was all too impossible. Also, it happened to be mid-July and the permit lottery wouldn’t begin again until the next spring. And I am an impatient person. As such, I began doing some research and looking for ways around the lottery system…and just happened to stumble on a little hack on snagging permits:
When individuals get their permits in the lottery, the permits are paid in full, by one group leader who must be present at the time of the actual hike. The permits are non-changeable, non-transferable and non-refundable. If this person is unable to make the dates of their permit, the only way there is even a possibility of getting a refund is by giving them back to the reservation system. The system will then repost the now-available permits on their “cancellation” page.
And that’s when it dawned on me: THERE’S A F*CKING CANCELLATION PAGE?!
The only way you can see this cancellation page is by creating an account on their website. Create an account. Upload a form of payment. Cancellations/Transfers page is now visible to you. Aha!
Usually, the permits that get put on the transfer page are last-minute– obviously someone couldn’t make it on their permit date. When I looked, many of the permits were for that upcoming weekend or month. HOWEVER…we snagged a set of permits for February of the next year. So you never know, you may get lucky! Keep checking that cancellation page!
Where to stay before/after:
Hualapai Hilltop (the start of the trail) is out in the middle of nowhere. The only road leading to the trailhead is Indian Road 18. The two closest “hotels” are 1) Hualapai Lodge and 2) Grand Canyon Caverns Inn. Things that I have learned about these two places (having stayed in the latter):
1) Hualapai Lodge is right next to train tracks. Working tracks. I cancelled my reservation to this lodge the first time around due to proximity to aforementioned train tracks . However, I ended up staying here the second time around and I wish I had NOT cancelled it the first time. It was MUCH nicer and modernized vs Grand Caverns Inn. My sleep was NOT disturbed by the train.
2) Grand Canyon Caverns Inn: This motel is about 1hr and 15 min drive to Hilltop (approx 60 miles on Indian Road 18). If we are discussing convenience, this is it– especially since permit pick-up is here. Cutesy in a very retro-Route 66 way. It’s old and it’s a motel so don’t be expecting 5-star amenities and buildings. Again, let me stress that it is a motel.
The Hike
You’re going to want to get to the trailhead as early as possible, to start your hike as early as possible, so that you can get to the campground… as early as possible! Yes, it is alllll downhill while hiking to the campground but I cannot stress enough about getting an early start and here’s why:
- It’s a 10 mile hike just to the village. So chew on that mileage and take into account the last time you hiked 10 miles (while carrying a pack) and how long it took you. Also, if it’s summer, yikes, it would behoove you to start early to beat the heat– possibly before dawn. We were relatively fast hikers and in shape and were able to hike down in about 3 hrs and 50 min.
- Campsites vacate on a daily by fellow campers. Being as such, most leave between 7am-10am (if they have a reallllly good site, their neighbor might wake up and snag their site). But getting to the campground early means you get first dibs on some prime spots.
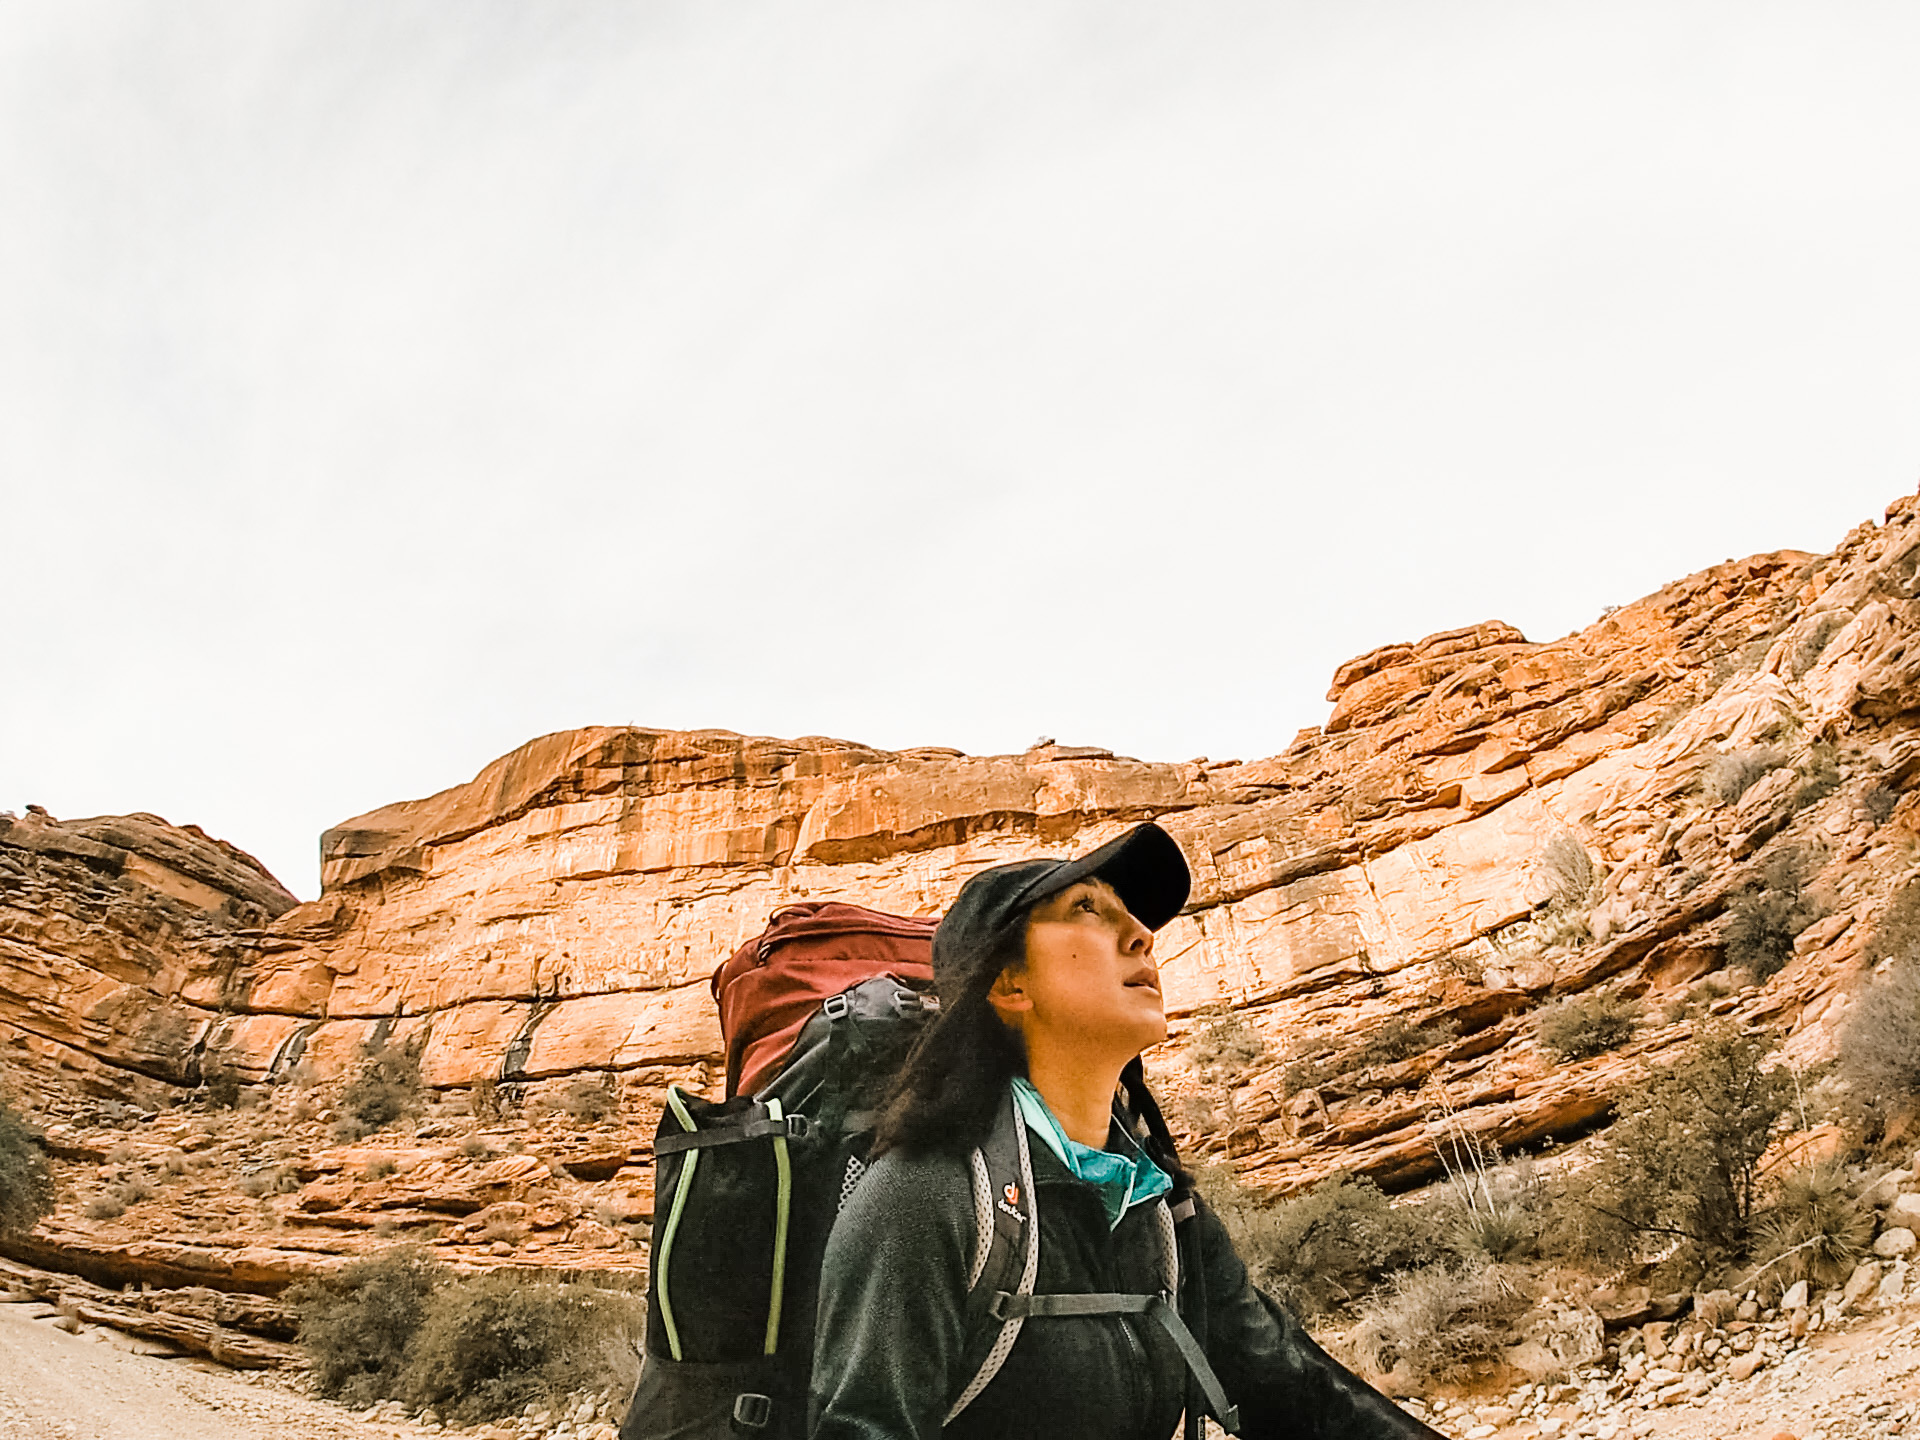
The hike is through beautiful desert. I really loved hiking through the canyons and throughly enjoyed the scenery. I don’t know why nobody talks about how beautiful it is hiking in/out. The waterfalls are gorgeous, but there is something about those deep red canyons. Enjoy it. The terrain varies from super soft, fine sand, boulders, rocks, and pebbles. Being someone with weak ankles, I recommend shoes that have ankle support (my strained achilles tendon can attest to that) because the uneven rocks can really test your feet. Rangers on horseback do check your permits and take down your name along the way so have your permit easily accessible.
 (My husband, Cody, in the canyons on our hike to the campgrounds)
Hiking out: Again, start early. Think about how long it took you to hike to the campground, take into account how sore your legs are from the past several days of hiking and then tack on some extra time because it’s a tough pull out of that canyon to Hilltop. If you think it’s difficult hiking the two miles uphill from the campground to the village, you’re gonna be in for a world of hurt when you reach the final switchbacks leading up to Hilltop. The term “slow and steady wins the race” is key here. Cody and I never stopped. If we ate, it was snacks or bars on the go. Even on the uphills, we never stopped. Didn’t matter how slow we went, as long as we kept moving. We even ended up catching up with groups that left 1 hr before we did and groups that did not even carry packs (because they were on the mule trains ahead of them). Don’t burn yourself out, don’t push until your legs are burning and screaming for oxygen, go slow and steady, but keep going.
The Campground:
The permits you scored include the campground. There is a lodge but it’s located in the village (2 miles from the waterfalls and hikes). That requires a completely separate reservation that requires a phone call to the reservation.
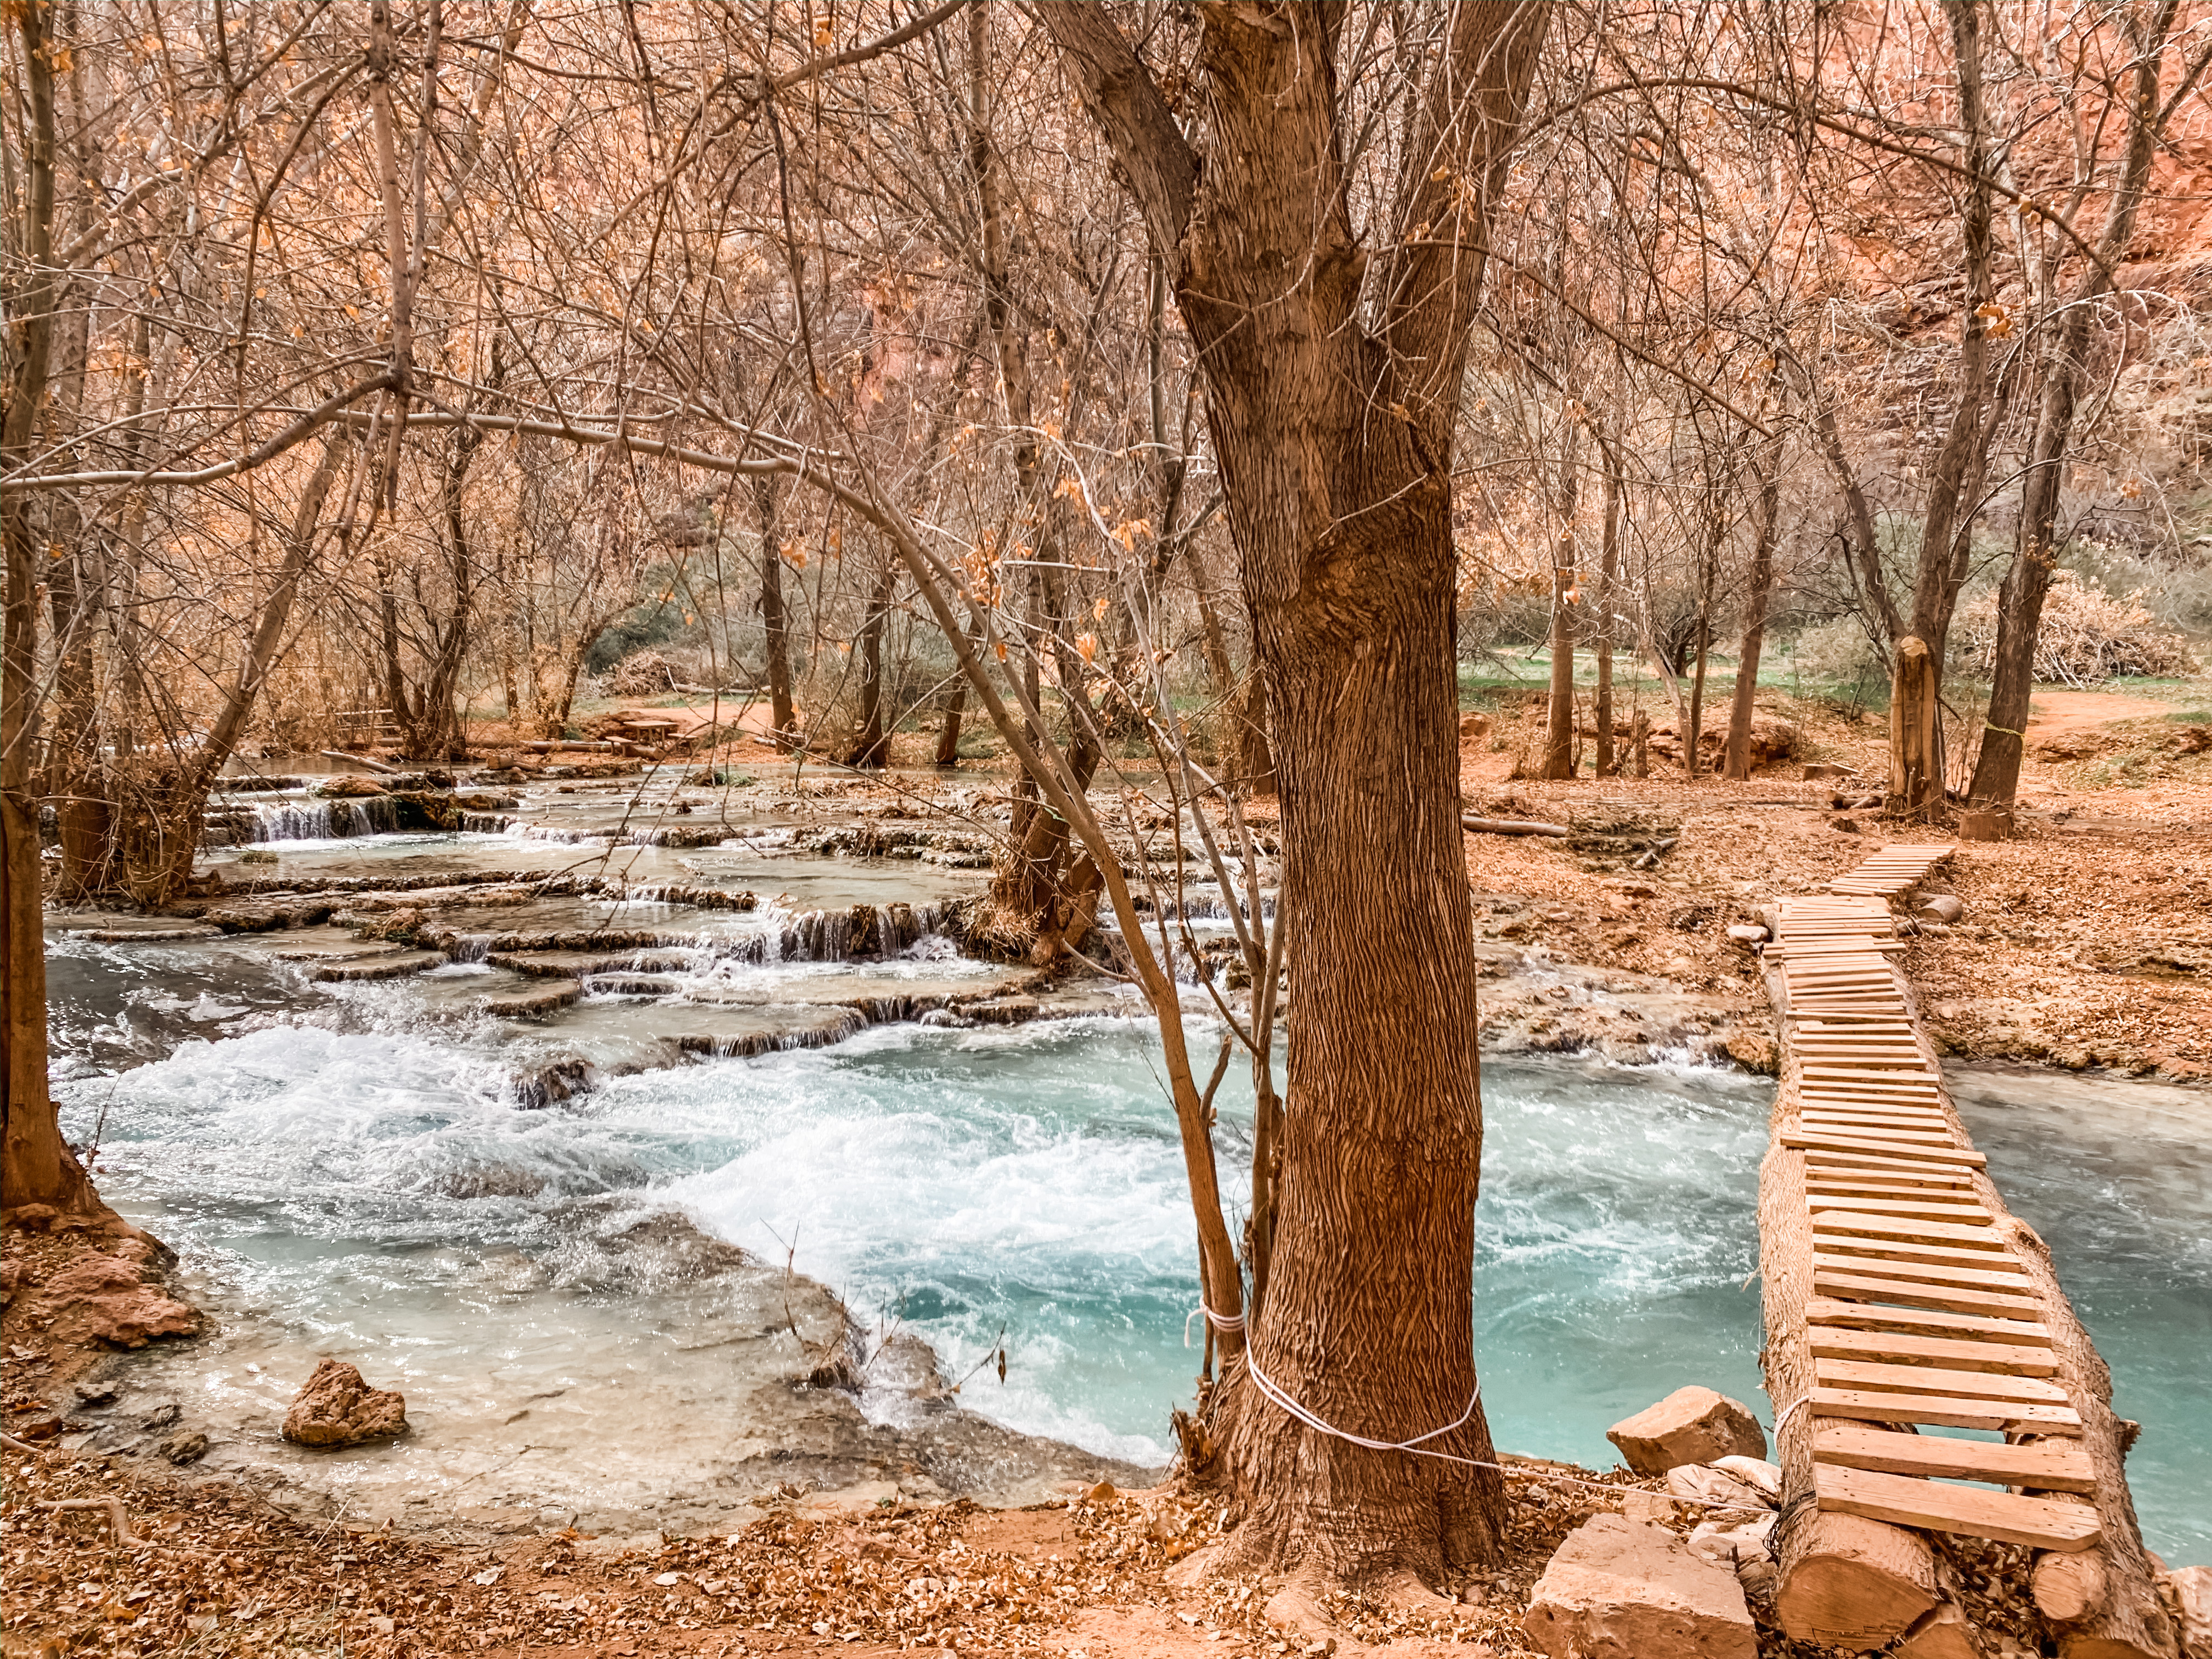
When you reach the mouth of the campground, I know you’re going to be tired and totally over it but stop yourself from setting up camp at the first open spot you see. Continue on down to the end (and possibly the other side of the creek) and see what kind of prime waterfront spots you can snag. Also, it’s beautiful to see the way the creek winds thru the campground.
Water source: There is a spring (Fern Spring) and a water spigot at the entrance of the campground but I’ve heard it’s still good to filter your water. Cody and I always filter everything just in case (unless its clean drinking water) because pooping your pants out in the wilderness is no fun. We always carry our handy-dandy, super-fast water pump. It’s light weight and we have pumped water for SO many people over the years with this sucker because it’s so damn fast. Cody also carried an empty 1L bottle to fill with the unfiltered water and I pack a collapsible water jug to filter the water into. This way we have plenty of water to cook and drink while at our site without having to run back and forth to the water spigot.
 (Ladder at the furthest end near Mooney Falls connecting the opposing sides of the campground)
We continued looking and found a sweet spot near the end with a large, flat area for our tent while still being waterfront with a picnic table. No idea how we got so lucky but I want to say it was a mixture of luck and probably because we were some of the early birds that arrived.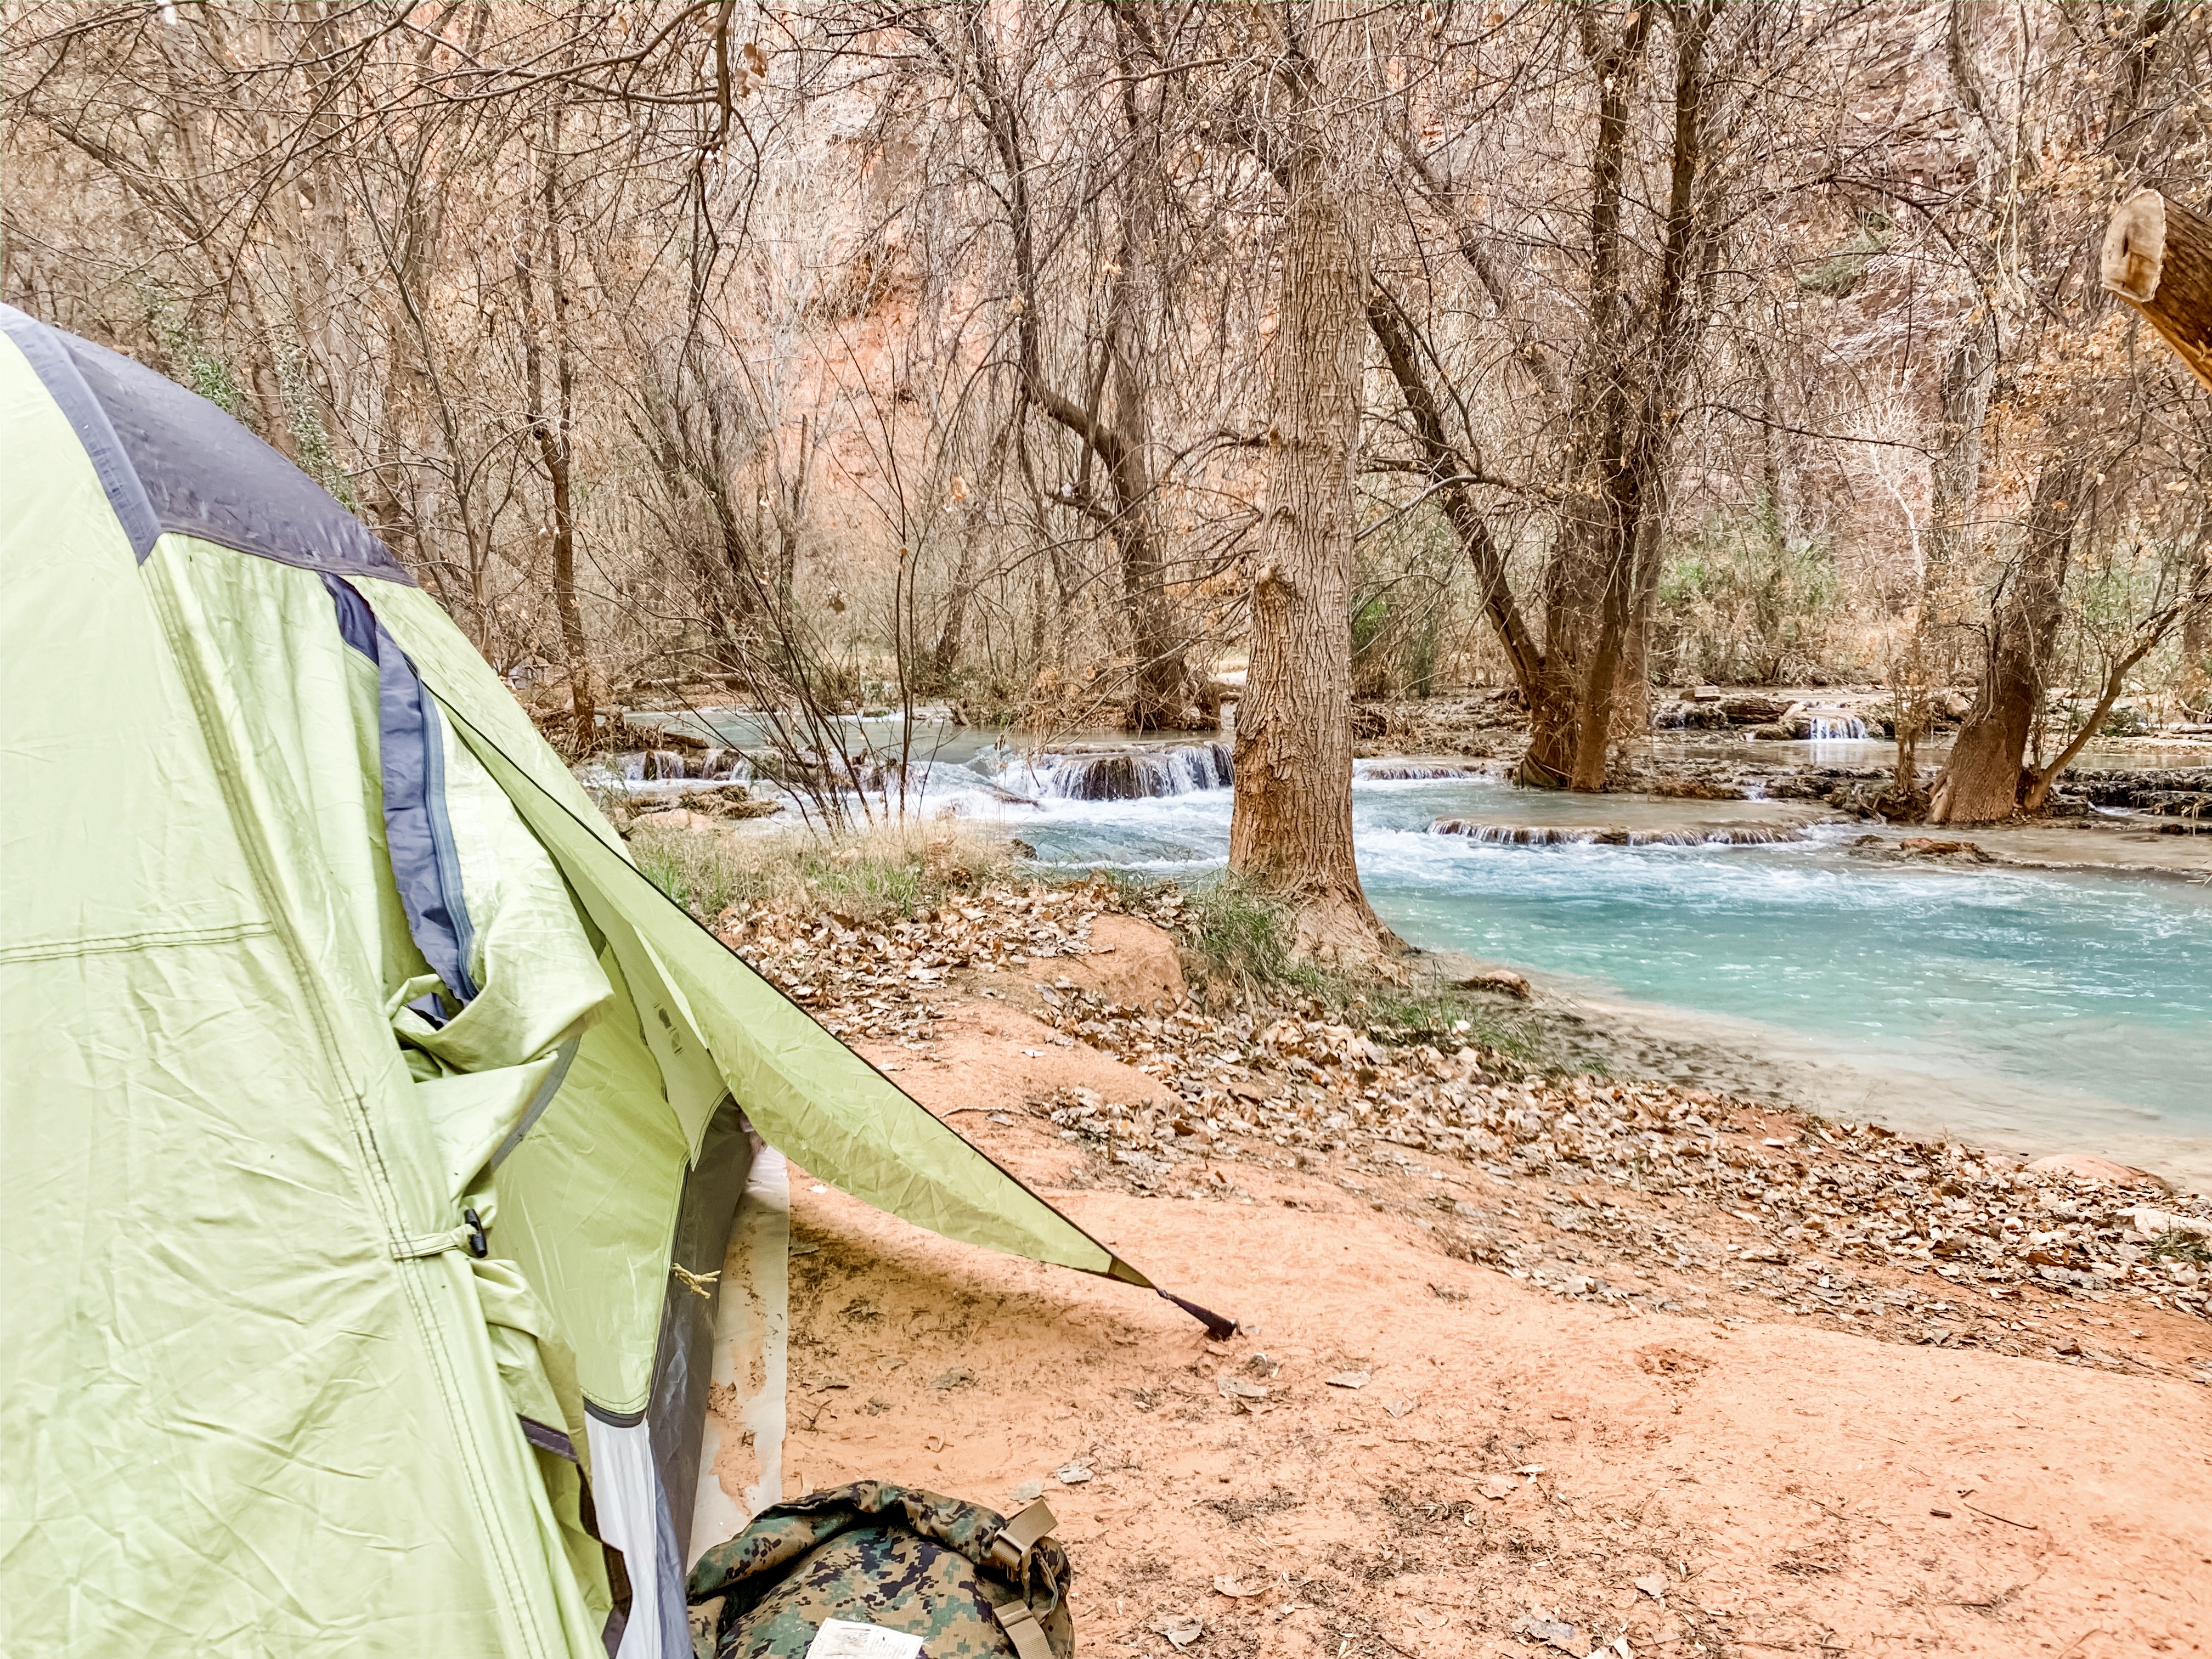
(The creek and mini-falls right outside our sweeeeet campsite!)
Food
Okayyyyy guys, this is where it got tricky. Cody has a gluten allergy (eye-roll). I know, so inconvenient. However, because of that, I have slowly been acquiring freeze-dried ingredient to start making our own meals. On the upside, this means I don’t have to deal with shitty preservatives and crap in my meals because I know exactly what I am putting into it. Yes, it’s a bit of a pain in the ass at the beginning but now that I have all the ingredients its the best thing everrrrr! And believe me, these freeze-dried ingredients will last you SEVERAL meals! A little goes a long way. I began by using this amazing woman’s recipes and subbed all the couscous in her recipes with gluten-free Isreali couscous (made of potato) at a 1:1 ratio. And same thing with all the noodle dishes, subbed regular noodles with vermicelli rice noodles. Our favorite recipes of hers: chicken & veggie couscous and thai peanut noodle. SOOO delicious and filling! You won’t regret it.
With that being said, Cody wanted to come up with a backpacker’s version of the vietnamese pho noodle soup. Well, after toying with the recipe for a bit, we (mostly Cody) nailed it (and now there’s only room for improvement from here on out!). IT WAS PERFECT for those chilly February evenings at the campsite (19F, yikes!). We packed it in little baggies but then dumped them into our insulated coffee cups that we brought. If adding hot water to the actual bags, I recommend using quart-sized freezer bags (freezer bags are sturdier when adding boiling, hot water). Here she is y’all:
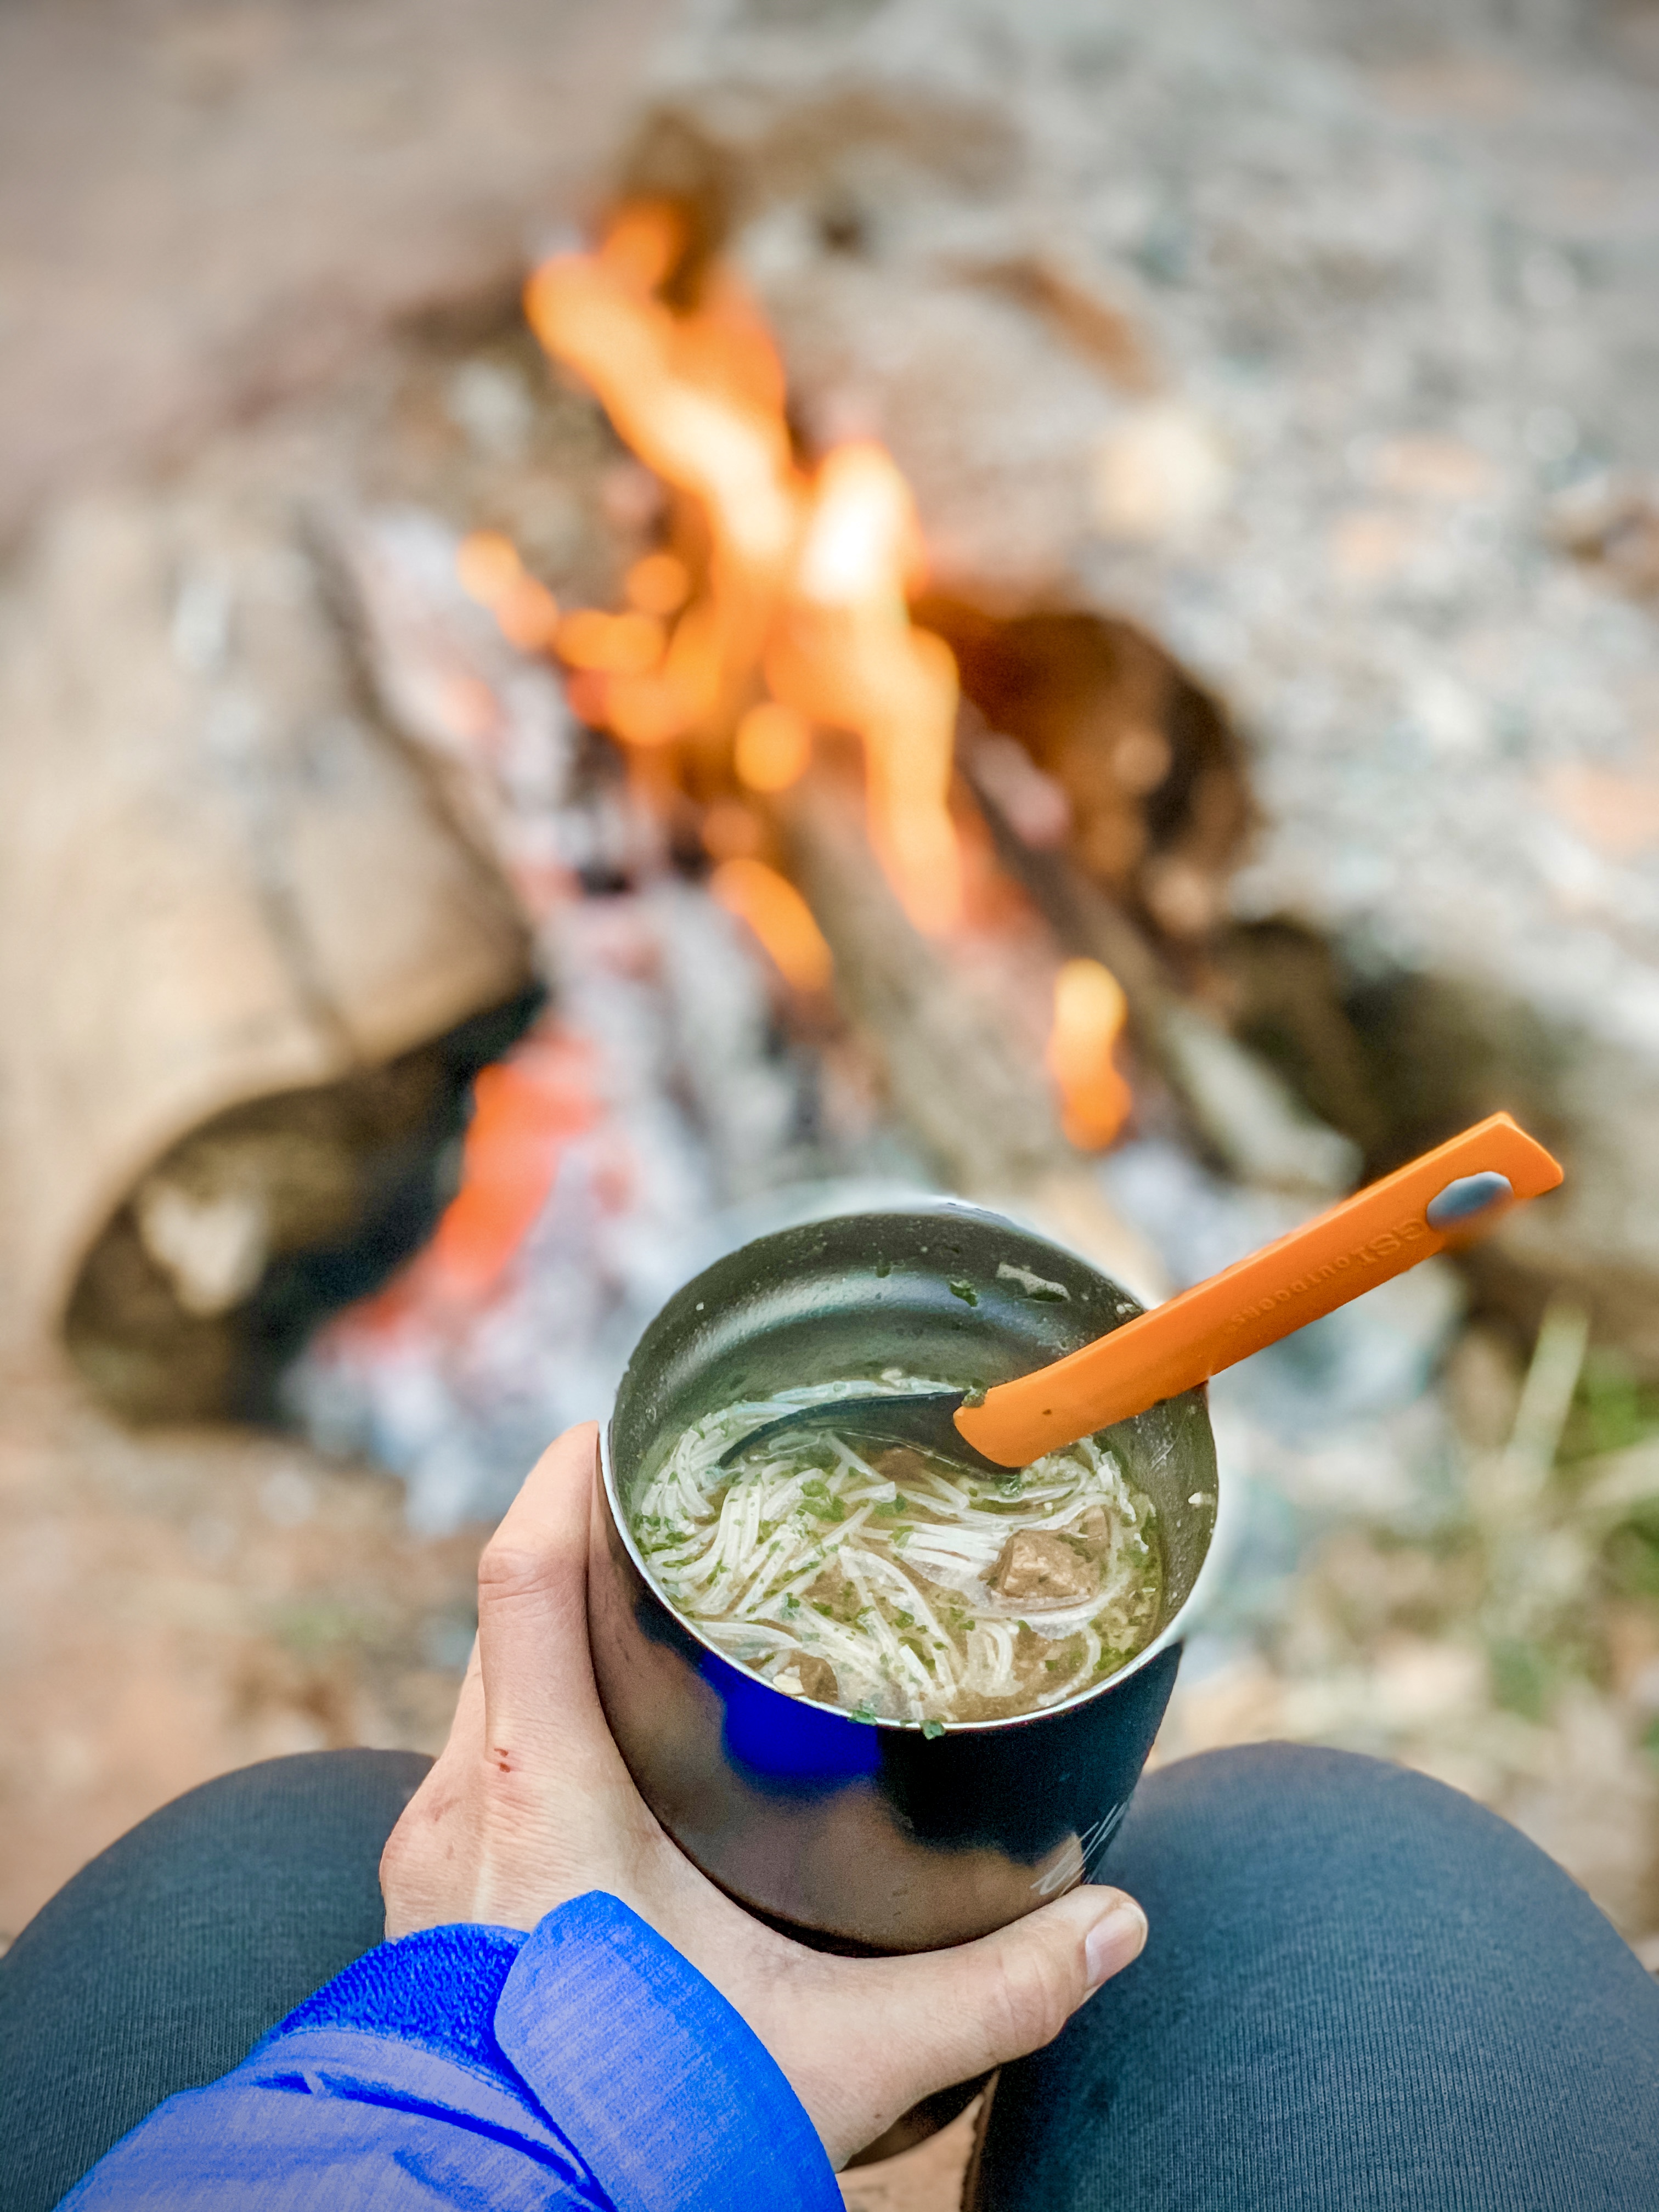
Backpacking Pho
1) Handful vermicelli rice noodles (fill ziploc bag 1/4-1/2 way)
2) 1 tbsp instant pho beef bouillon (we used Essence of Lotus brand)
3) 1/2 tsp freeze-dried spring onion
4) 1/3 tsp freeze-dried cilantro
5) 1/4 cup freeze-dried diced beef (Mountain House brand)
6) 1.5-2 cup boiling H2O
5-7min wait 🙂
*optional: I sprinkled in fried onions, garlic and freeze-dried jalapeños in for some added flavor. Cody also brought along a mini travel-sized bottle of sriracha, of course.
The Falls
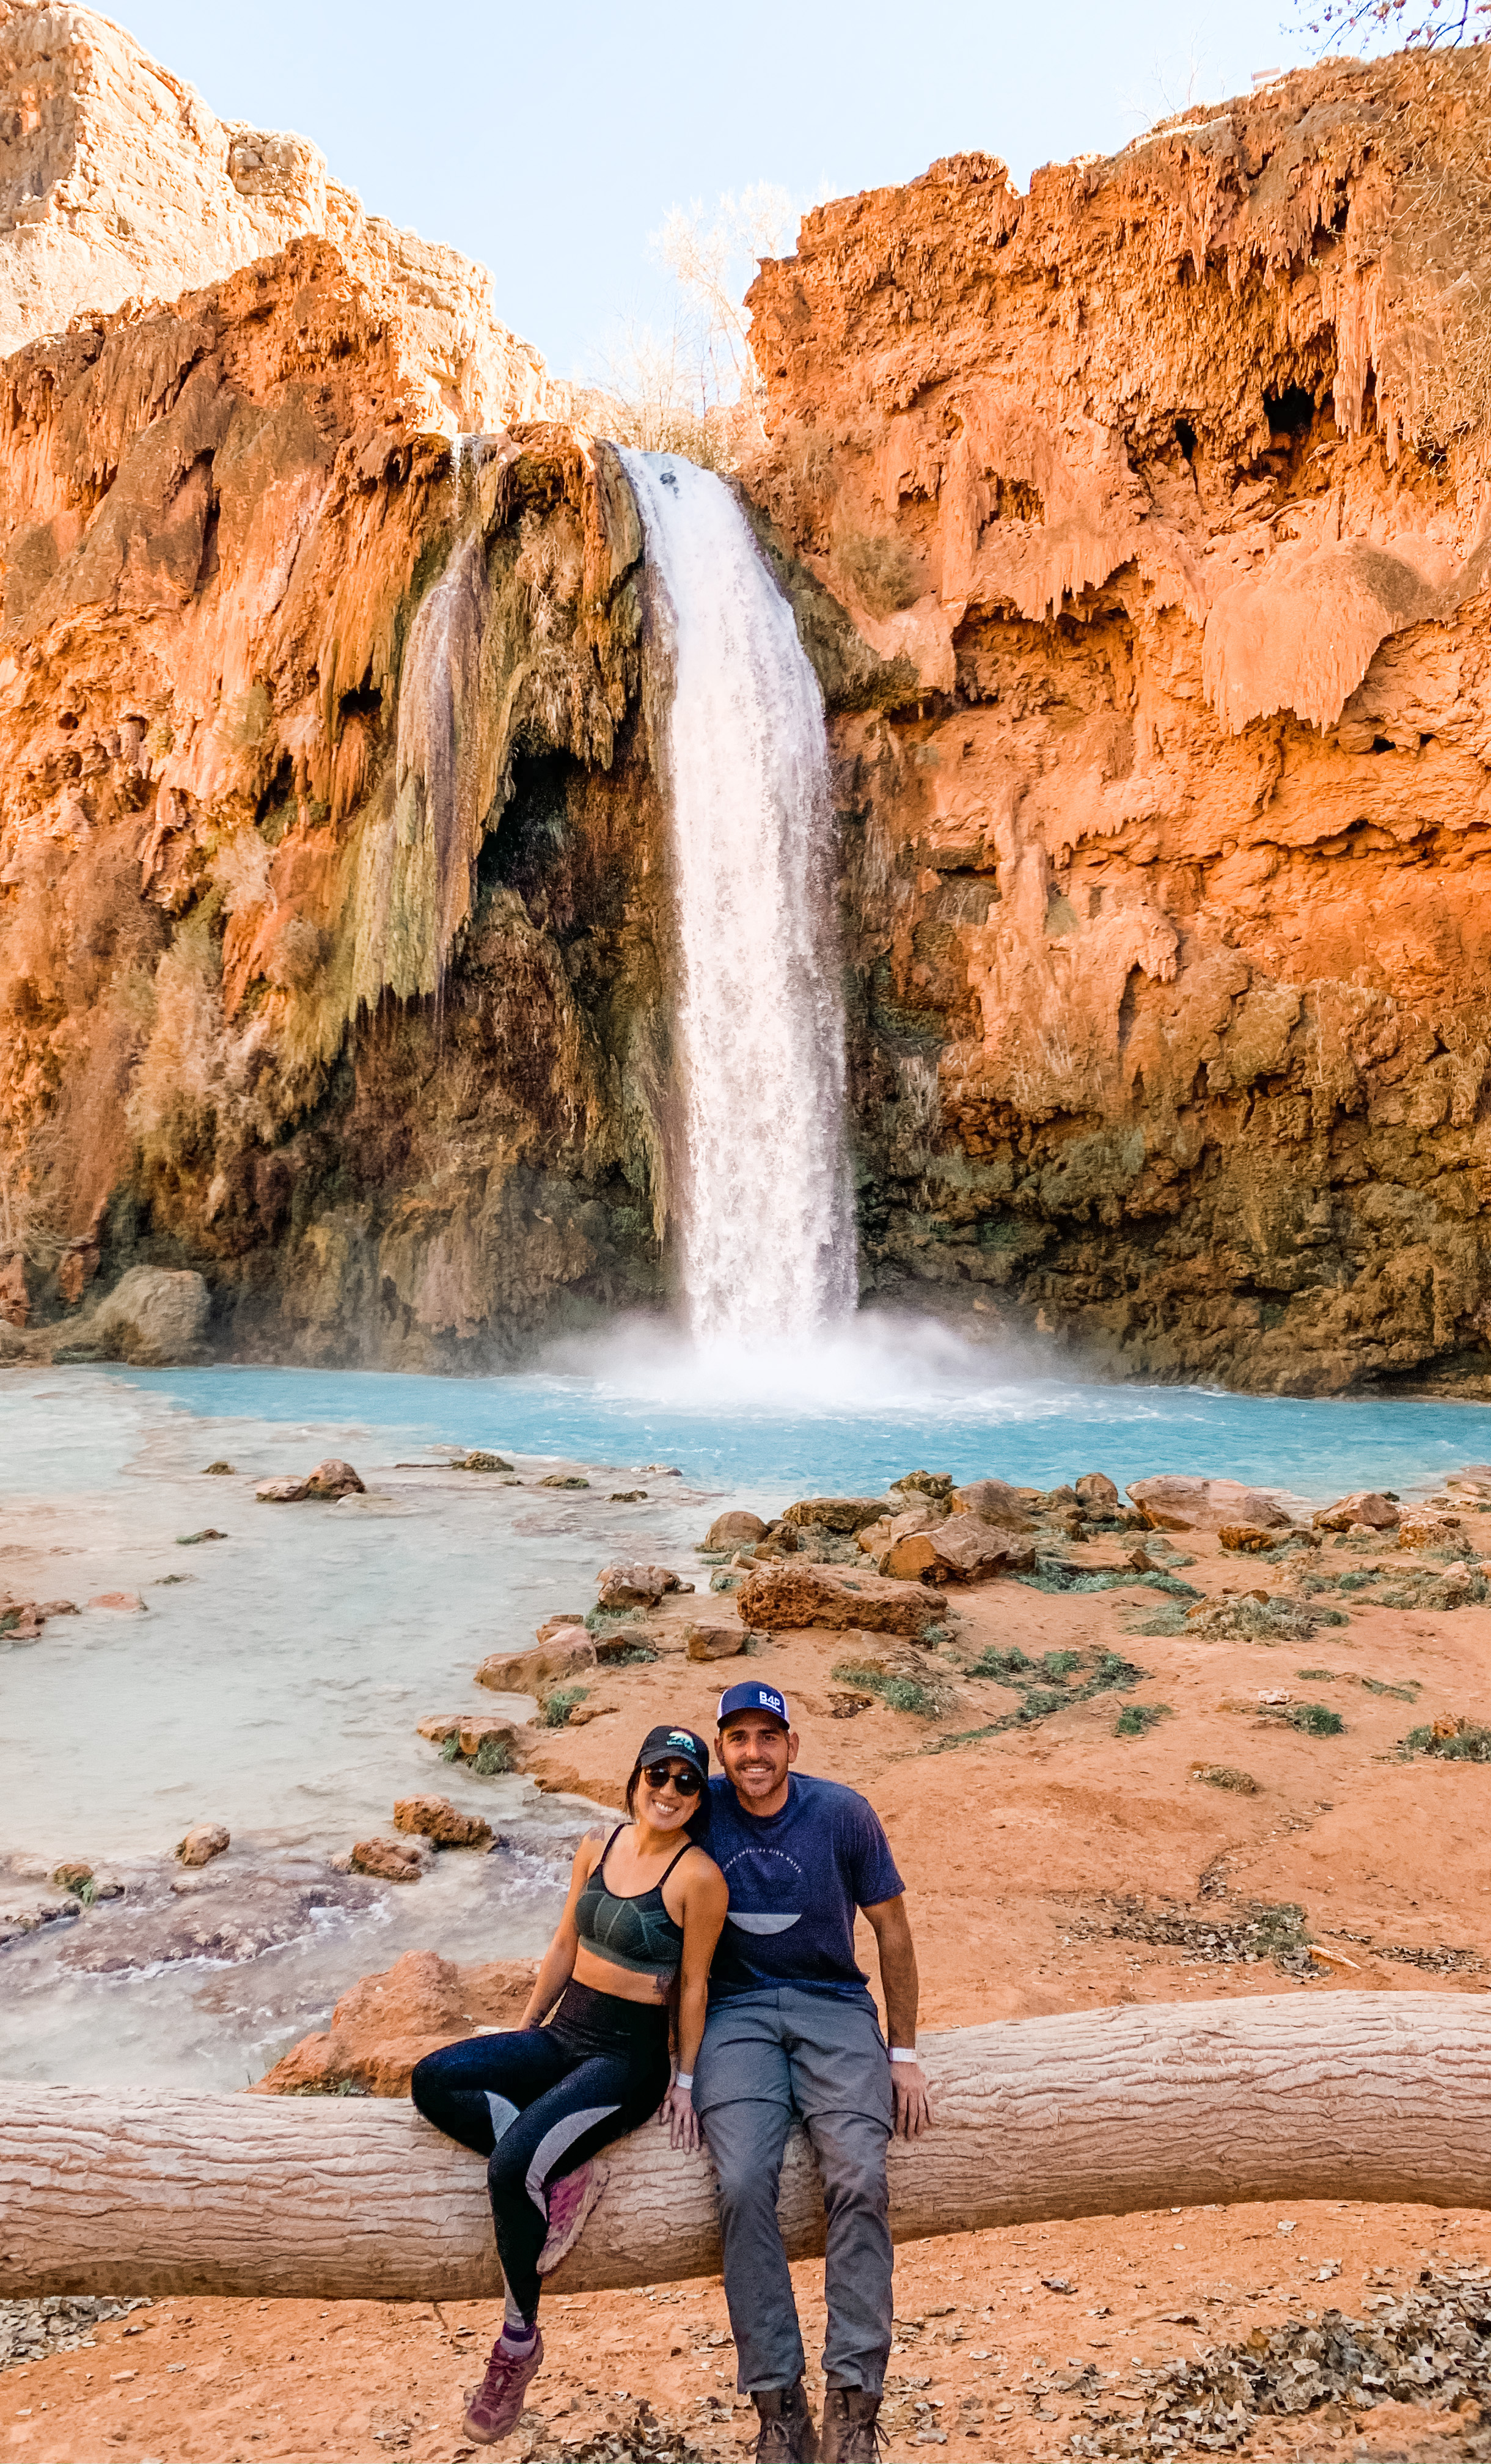 (My love and I at Havasupai Falls)
The famous, Havasupai Falls greets you right before the entrance to the campground. Can’t miss it. It’s an easy hike from the campground but 2 miles from the lodge. Mooney Falls looks similar to Havasupai Falls but is at the opposite end of the campsite and requires squeezing down some dark rabbit holes and maneuvering down a sketchy and slippery “ladder” system that someone has MacGyver-ed together.
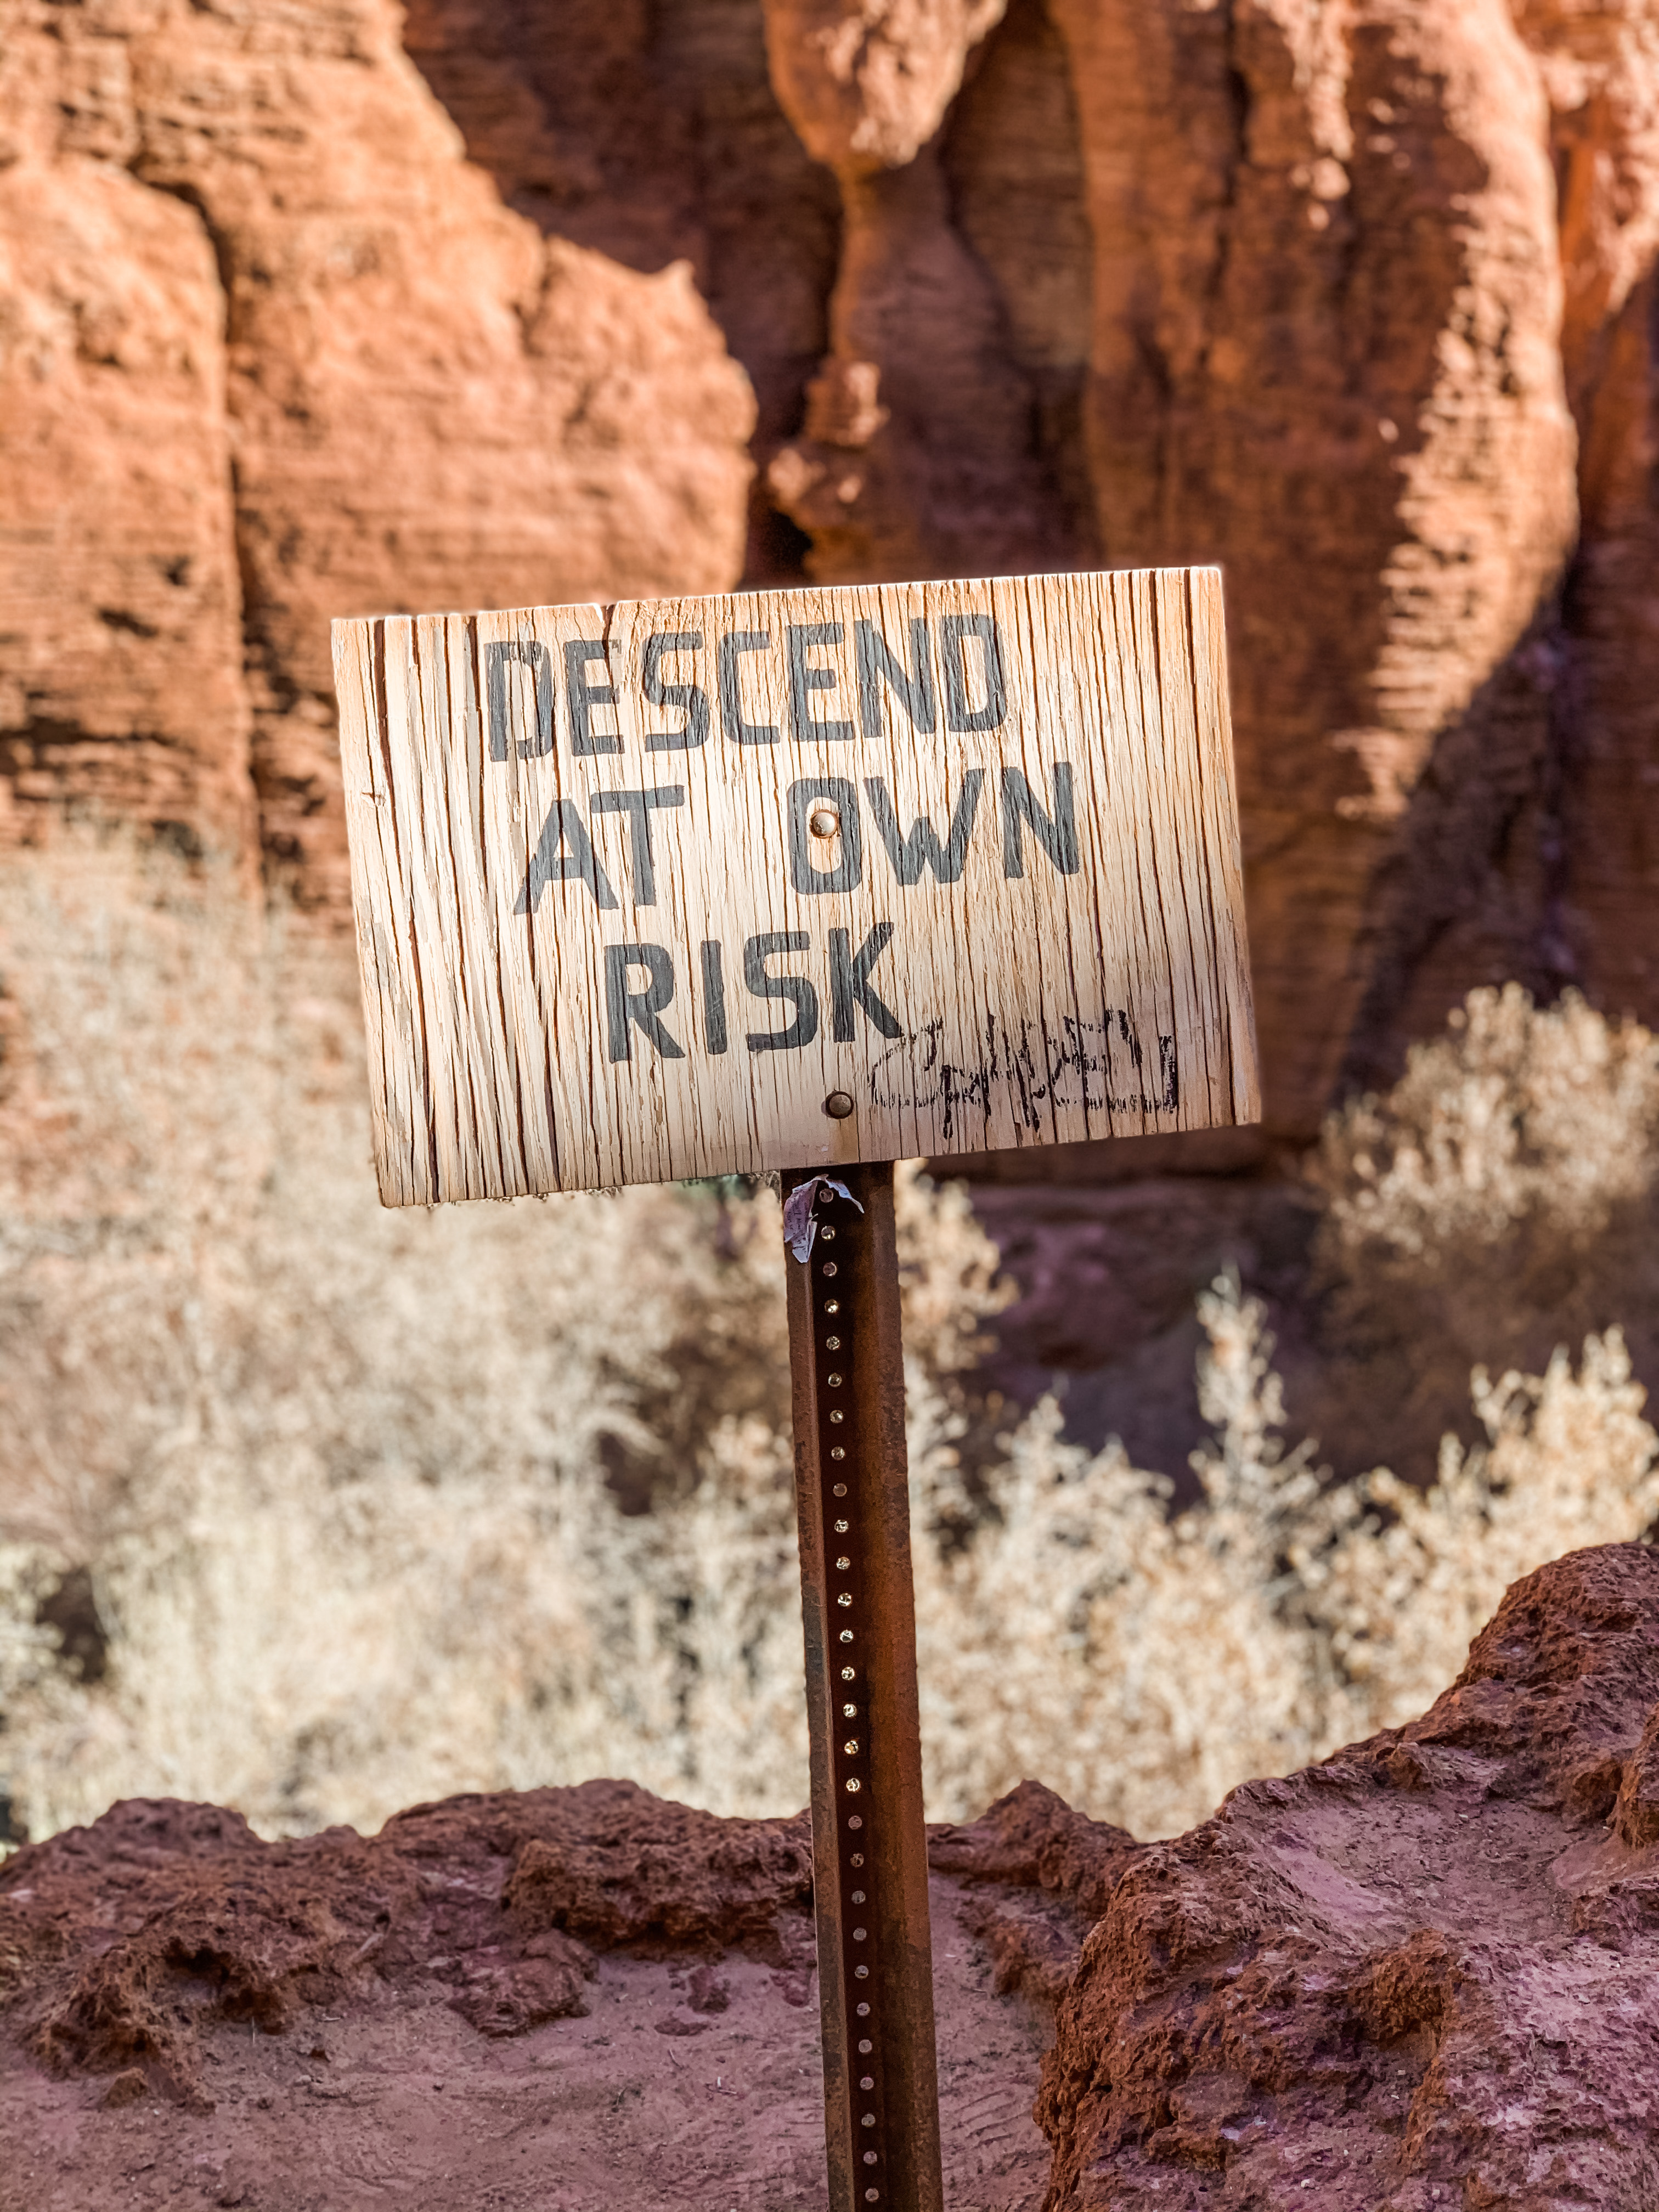
(The sign before the “ladders” down to Mooney Falls)
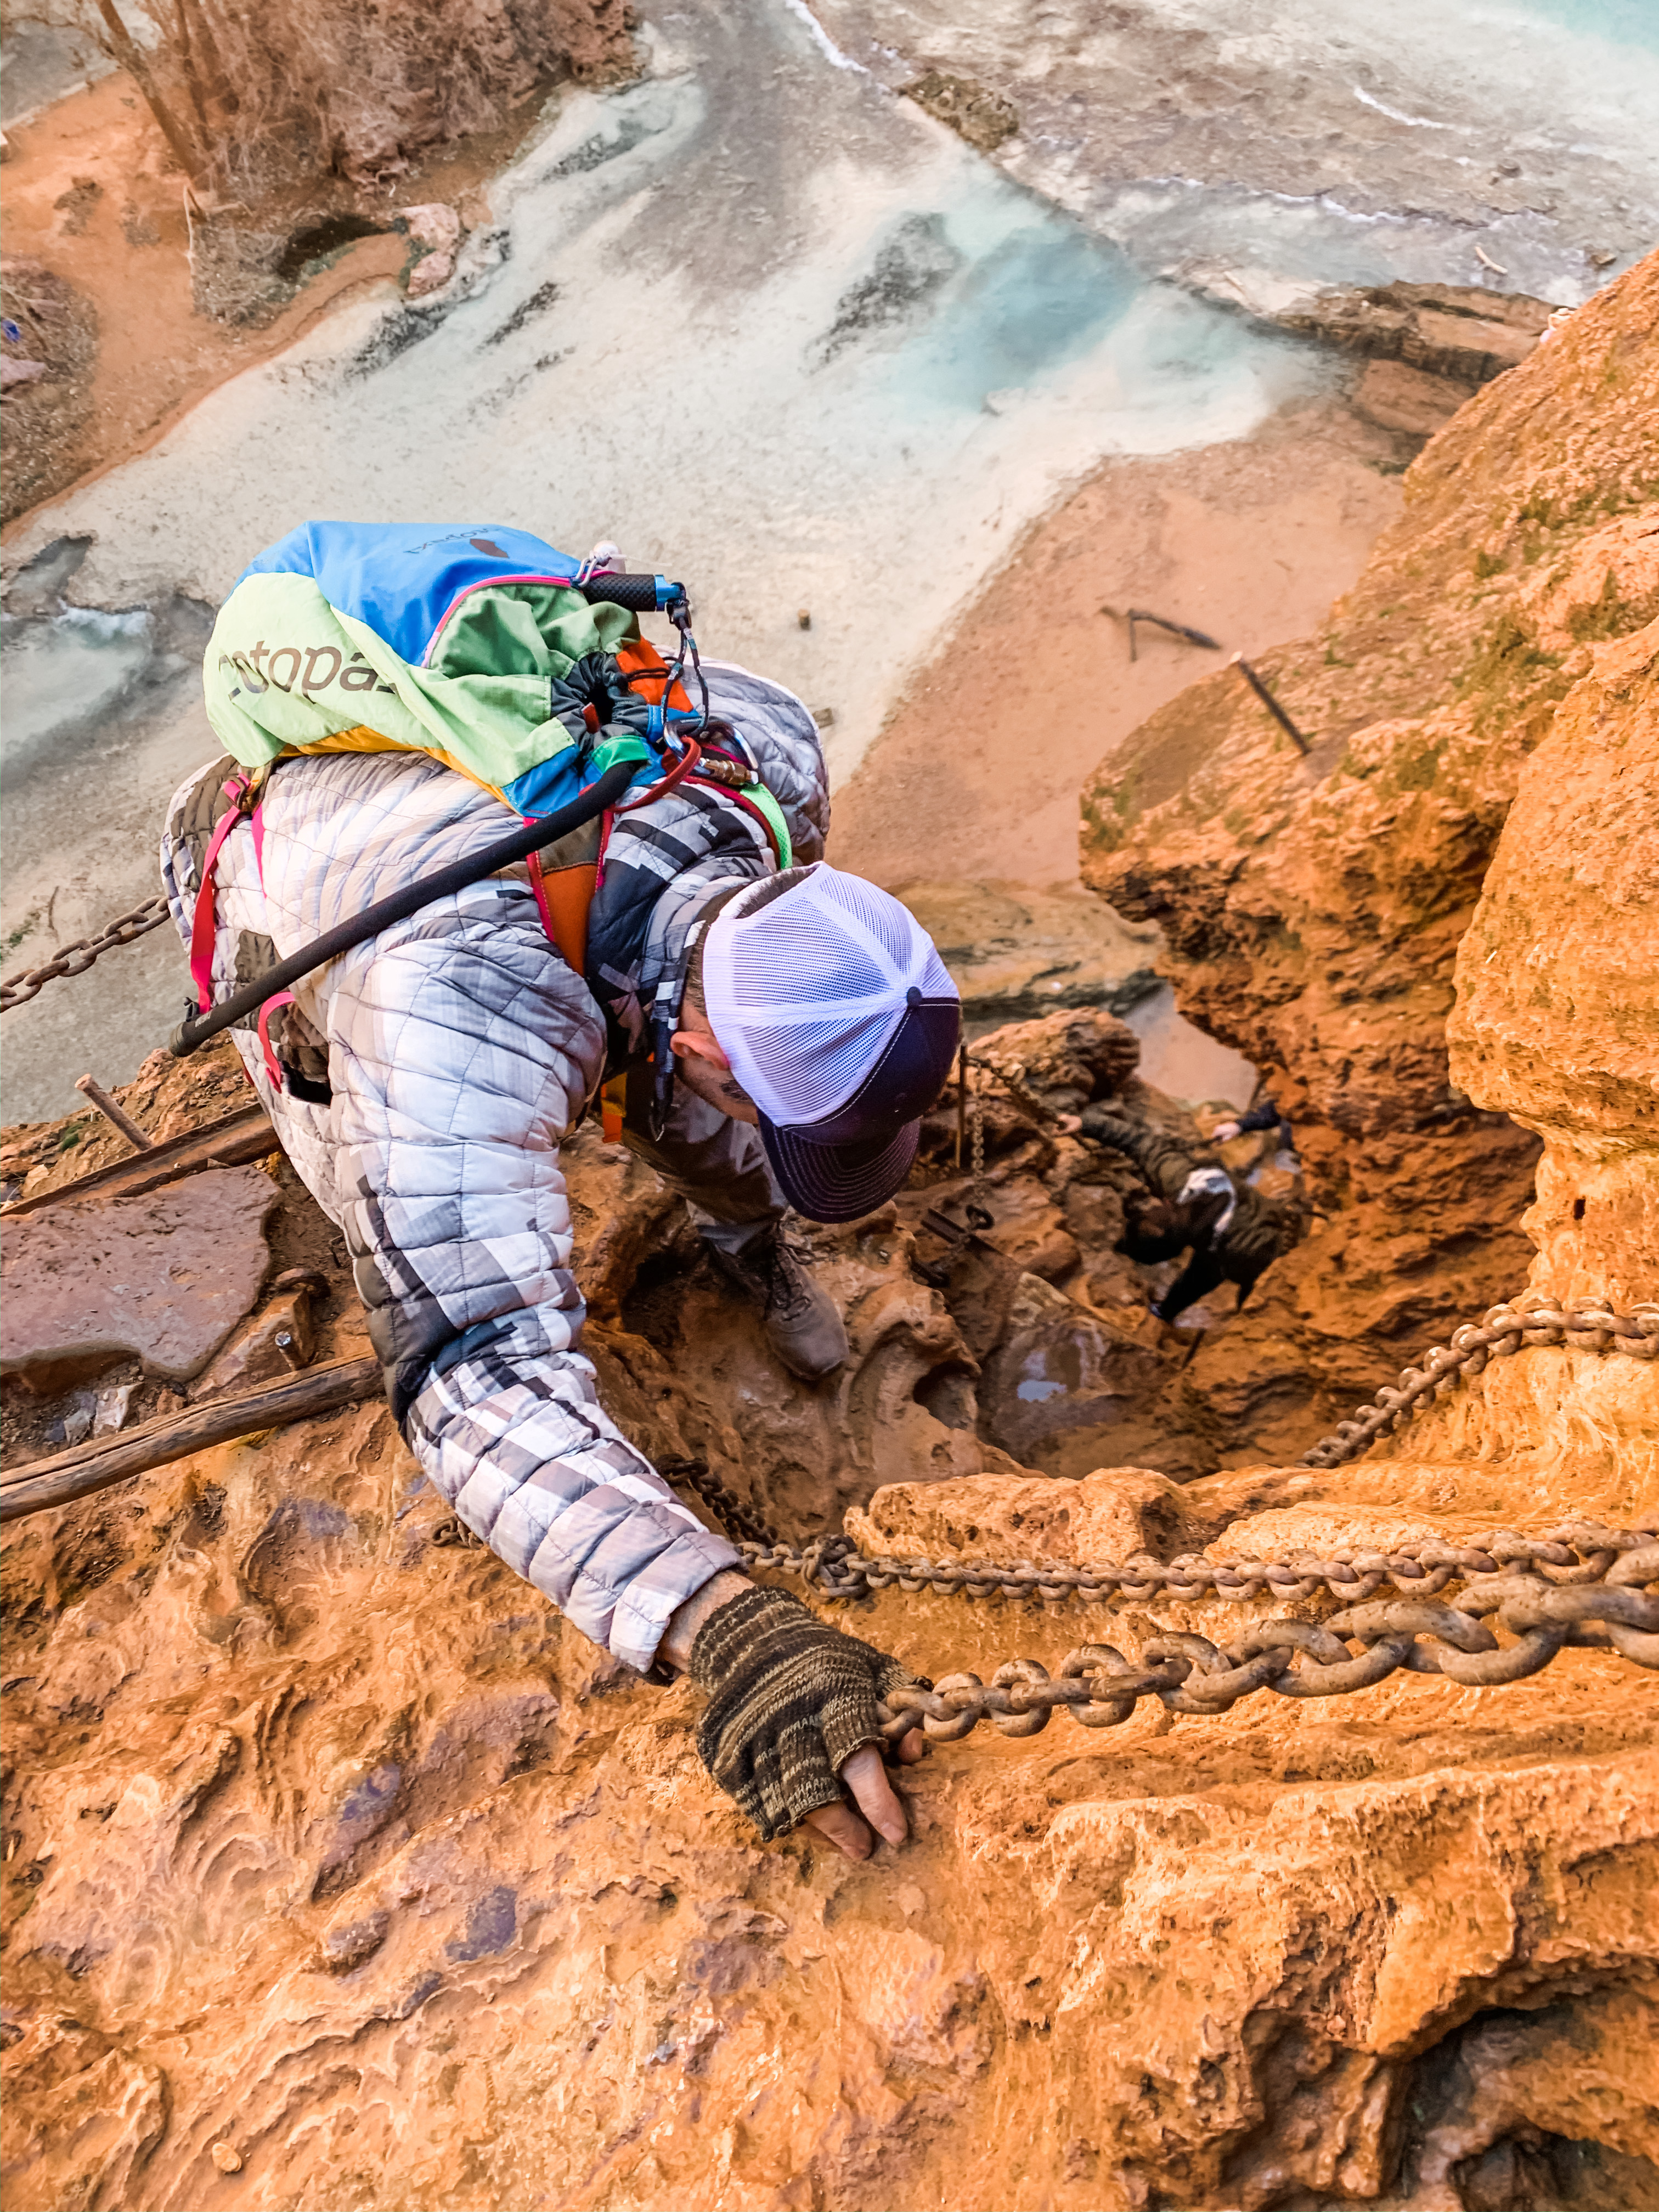 (Cody maneuvering his way down the “ladder” of chains, stakes and rock)
Definitely not for the faint of heart but I loved every bit of it! Beaver Falls is an additional 2 miles and only reachable after you pass thru the ladder system to get down to Mooney Falls.
 (The actual ladder section after making your way down from the slippery rock, chains and stakes in the canyon walls)
Reaching the beautiful Beaver Falls is so worth it but requires an additional 3 water crosses. That means you better come prepared with either 1) short shorts or 2) bathing suit bottoms because you will be trekking thru water. I was an idiot, fully prepared…but forgot all these items while on this hike. I didn’t realize it until I reached the first water crossing and realized that I’d have to completely take off my leggings and hiking shoes to reach my final destination.
 (Looking out over Beaver Falls)
Last tidbit: My favorite thing about hiking this time of year is that it’s not busy and you CAN get shots like this with nobody in your frame. And best part: I didn’t have to wake up at the ass-crack of dawn to hike to these falls for these shots. I probably began this hike around 8am-ish (~2.5 miles from camp to Beaver Falls). Weather was def not the warmest, with lows in the 20s and highs in the 40-50s, but every day that passed warmed up a bit. Our last day (Feb 8th), the high was in the 60s and I took the opportunity to get my tan on! Any time that sun came out I soaked it alllll in. Camp fires are normally banned in the canyon…except during extreme cold temps. Also alcohol is illegal. Download the offline area map on Google maps before driving–service sucks. Download offline trail maps on Alltrails for Mooney, Beaver, confluence, etc. No service.
***Would definitely have an ice-chest of drinks in your car at the trailhead for the end of the hike. Trust me, it’ll be like heaven after that hard uphill push out of the canyon.
If you continue on from Beaver Falls, I believe you’ll reach a confluence where Havasu Creek meets the Colorado River and it should be a realllllly neat slot canyon (16 miles round trip) filled with water!
Enjoy your hike and soak in all the views!
***my 2 cents on the pack mules: although, I did not visually see for myself any apparent or deliberate abuse/neglect of the mules, I know that it has and does happen, especially when these poor babies are doing 20 miles back and forth in the height of summer. I do not promote or support use of these animals. I meannnnn, think about it: why would they keep emphasizing in their rules that you CANNOT take photos of the pack animals? Also, the helicopter option out is very hit & miss, there are no reservations (first come, first serve), and locals get first dibs. Also, the heli may not run on certain days & will not run during bad weather.
If you cannot train and get your ass into gear to do this hike, maybe you shouldn’t be doing it at all. Sorry not sorry. The beauty of the trail and falls is the struggle to get there and be able to say: I backpacked 20 miles, carrying my own gear, to see these gorgeous, isolated falls.

My packing list for this trip in a 70L Deuter pack: (check my other posts for links for my specific gear)
-tent
-4L camelbak bladder w/ insulated hose (if it gets cold in Jan/Feb, it can freeze your hose)
-rope, carabiners, rat sack
-small portable charger
-head lamp
-pocket knife
-microfiber towel (we jumped in the water)
-stove
-water filter
-water shoes (for river crossings… cheap ones on Amazon or Wal-Mart worked like a charm and no blisters; you don’t need anything intense or fancy, the terrain and grade of the hike to Mooney/Beaver isn’t that bad or difficult)
-bathing suit
-Crocs for wearing around the campsite
-collapsible water jug
-cash (for Indian fry bread stand + sodas)
-sleeping bag & sleeping bag liner, inflatable pillow
-sleeping pad
-food/snacks (dehydrated meals we prepped ourselves as stated above)
-coffee cup
-foldable camp chair
-hand sanitizer + wet wipes
-ziploc bag for trash
-toothbrush/paste
-first aid kit
-lotion/sunblock
-Small, lightweight foldable day pack
-beanie/wool socks
-fire starter balls (to start the campfire, if going in winter)

This is so cool Lia!!! Looks amazing thanks for sharing.
LikeLiked by 1 person
Thank you so much for all the information. Going 2021
LikeLiked by 1 person
Tommie! SO excited for you. Its stunning and worth EVERY single bead of sweat! lol
LikeLike
[…] Meals: Mountain House has always been my go-to backpacking meals because they are large portions and pretty delicious. However, they do give me gas and upset my stomach. They are filled with tons of preservatives and now, as an avid backpacker, I make my own meals using this woman’s recipes as a base. Also, I had to fix these up to be gluten-free for my husband. With all kinds of dehydrated and freeze-dried ingredients, my husband also came up with a backpacking version of the Vietnamese pho noodle soup. It’s especially delicious for those cold nights out in the wilderness! For this easy recipe, check out my Havasupai Falls post! […]
LikeLike